
I am following the youtube video React Portfolio Website Tutorial From Scratch – Build & Deploy React JS Portfolio Website (2022) by EGATOR. Thanks to him!
I am using Windows10 and vscode to build this.
1. Prerequisites
- vscode installed
- Nodejs/NVM installed
First, make sure you have nodejs installed. There are two ways to install nodejs. First, download from the official nodejs website to install. Second, install the NVM for Windows(node version manager for Windows). For Linux and Mac users or even wsl lover Windows user, you can install NVM in case you will use nvm. It is up to you, but I installed NVM for Windows.
Before you install NVM, make sure you check and uninstall existing versions of Node.js and delete all the nodejs related files and folders if you have on your local already. In my case, I had on C:\Program Files\nodejs and C:\Users\PC\AppData\Roaming\nodejs, so I had to delete them. If not, there will be some conflicts.
Now, here we go to start building react portfolio website.
2. Install and Setup the React Project
Navigate to the folder you want to create the project
Install/create the react project with below code
npx create-react-app jisoo.jnpnote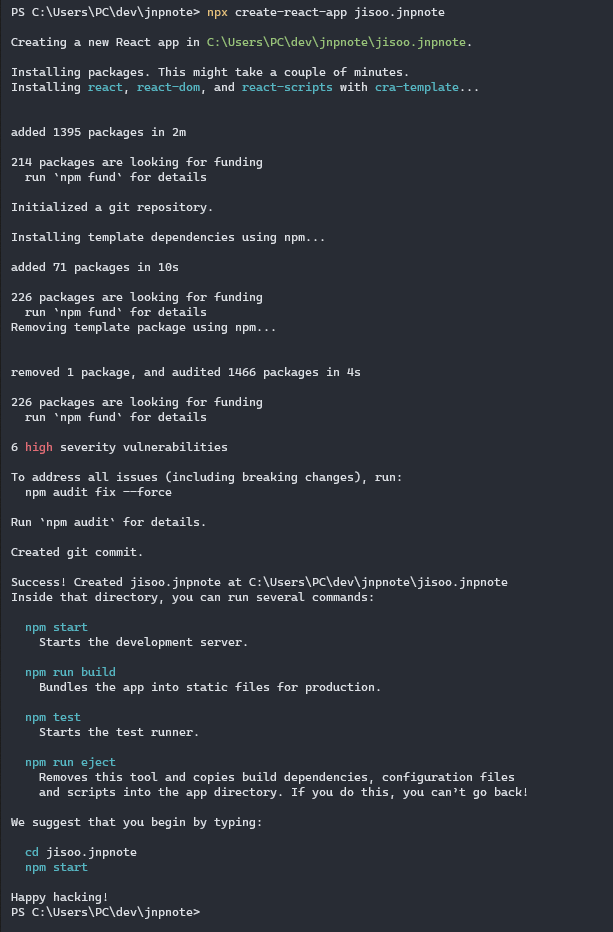
It is done setup the initial page of react! Easy!!!
With below command, You will see the home page with react logo.
npm start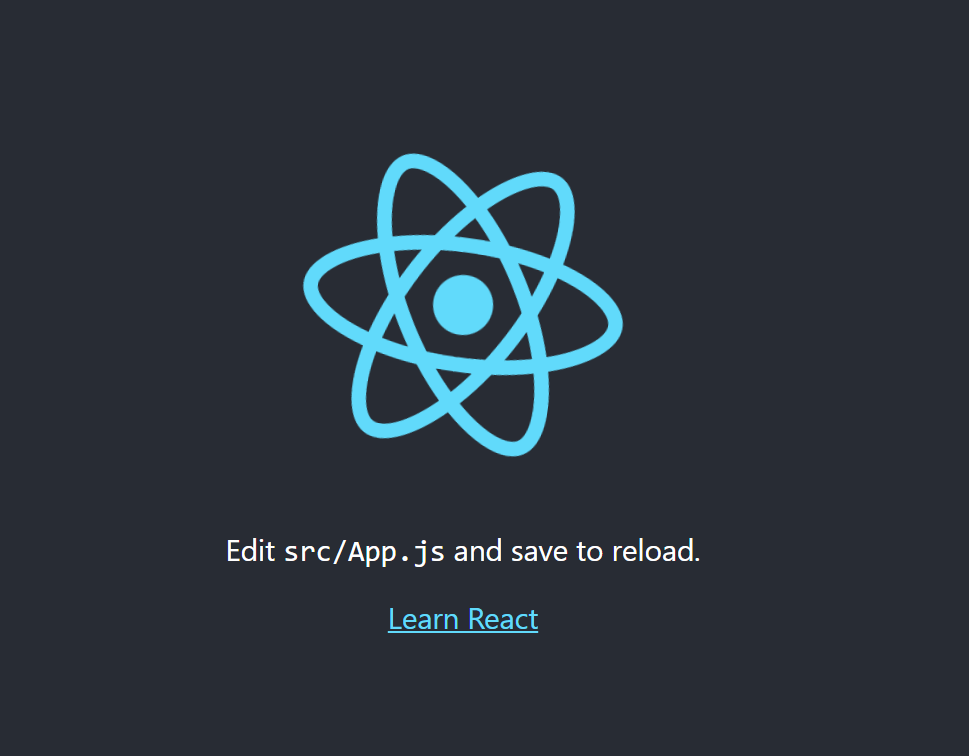
Now, open the folder with vscode.
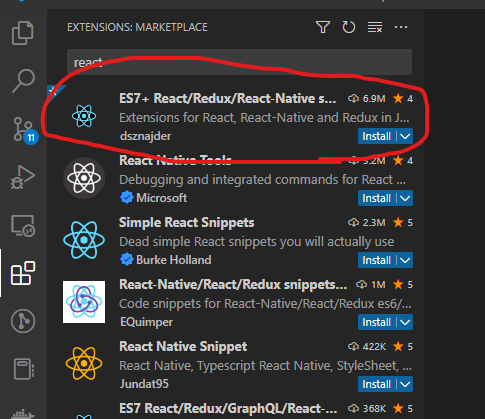
Install the extension called ES7+ React/Redux/React-Native snippets, or whatever you prefer is ok.
3. Delete some files to start over from the scratch(optional)
Because I am following the tutorial and also new to react, I am doing it. But if you are familiar with react and knows the what they are and the structure, you don’t have to.
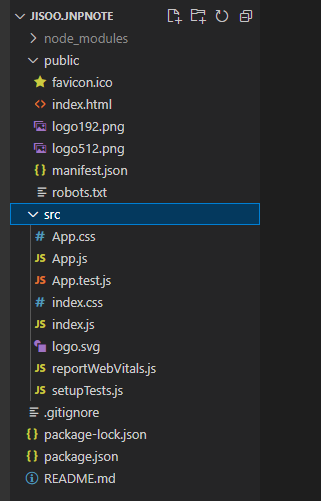
Here are what I had done with screenshots.
Delete all except index.html file under public and edited index.html

<!DOCTYPE html>
<html lang="en">
<head>
<meta charset="UTF-8">
<meta http-equiv="X-UA-Compatible" content="IE=edge">
<meta name="viewport" content="width=device-width, initial-scale=1.0">
<title>The Ultimate React Personal Portfolio Website</title>
</head>
<body>
<div id="root"></div>
</body>
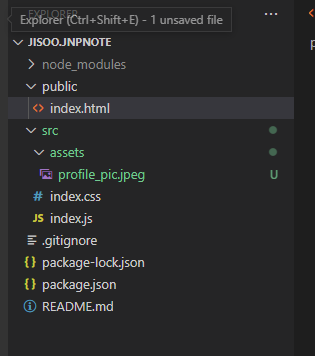
</html>Delete all files under src except index.css and index.js.
Create assets folder under src folder and add images you will use.
Add code below on Index.js
import ReactDOM from 'react-dom'
import App from './App'
import './index.css'

ReactDOM.render(<App/>, document.querySelector("#root"))
Add code below on Index.css
body {
  background: black;
  color: white;
}
Create App.jsx file under src folder, and add below code. or if you typ rafce, it will automatically create like below code.
import React from 'react'

const App = () => {
  return (
	<div>App</div>
  )
}

export default App
Here is the screenshot of above work.
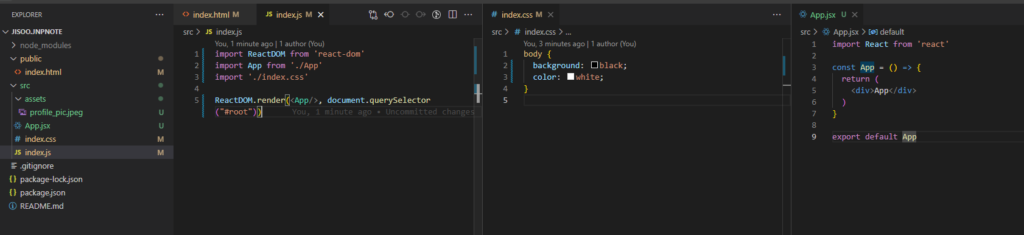
Now you will be able to see black background with white string “App”.

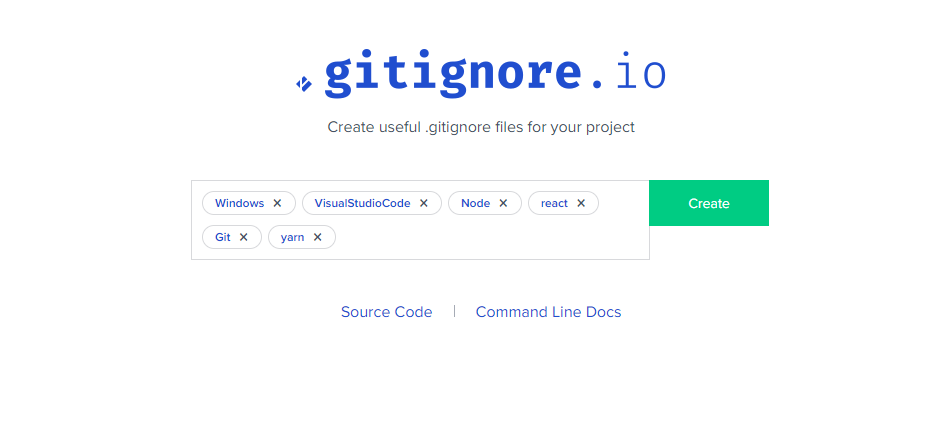
4. Add more on .gitignore (optional)
The project already created .gitignore file for you. However, I want to add some more on that.
There are sites automatically create the .gitignore files. I am using toptal.
5. Change Project Name
I just changed the folder name to jisoo instead of jisoo.jnpnote.
I was just worried if that breaks anything, but it didn’t.
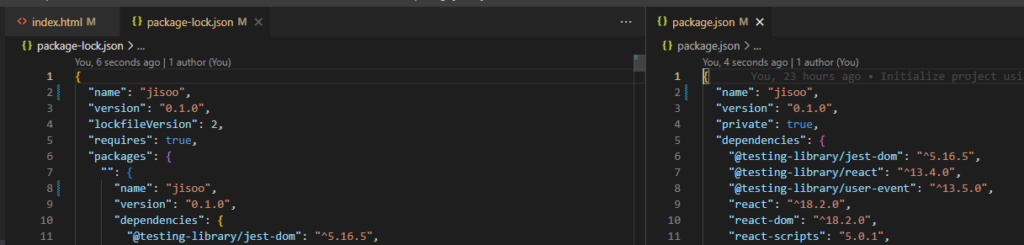
However, just in case, I deleted all .jnpnote in project which are in package-lock.json and package.json files.
6. Push to Github
I will push this to my github. Here is the link how to Adding locally hosted code to Github.
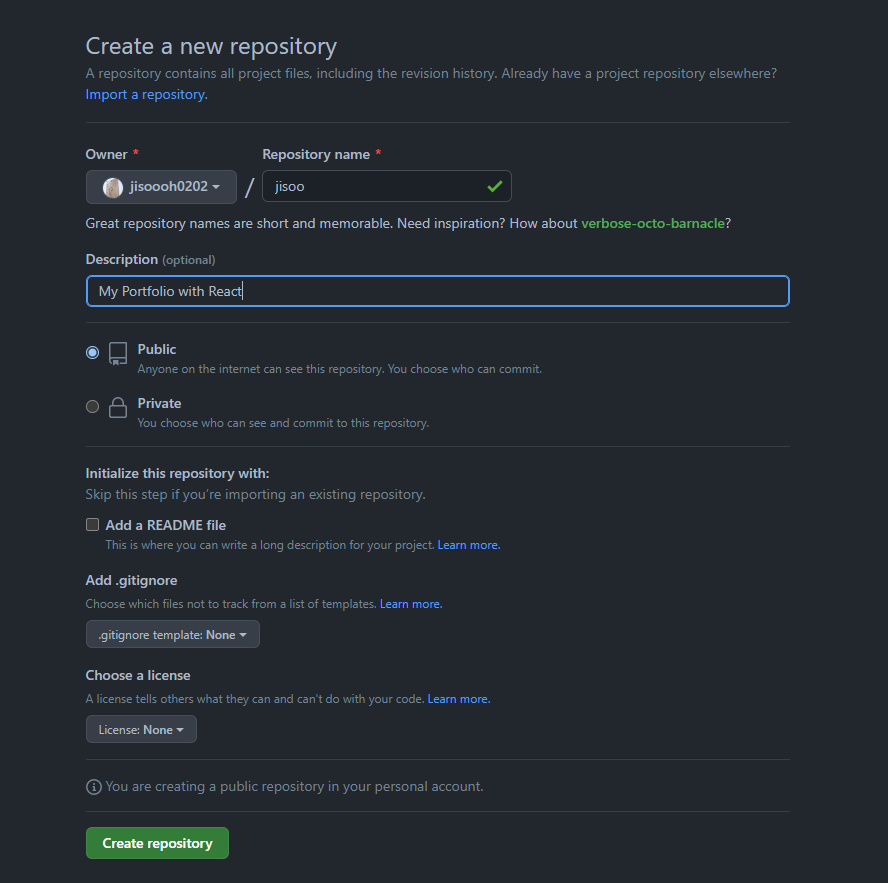
I left everything below Initialize this repository with section, because I have everything on my local already.
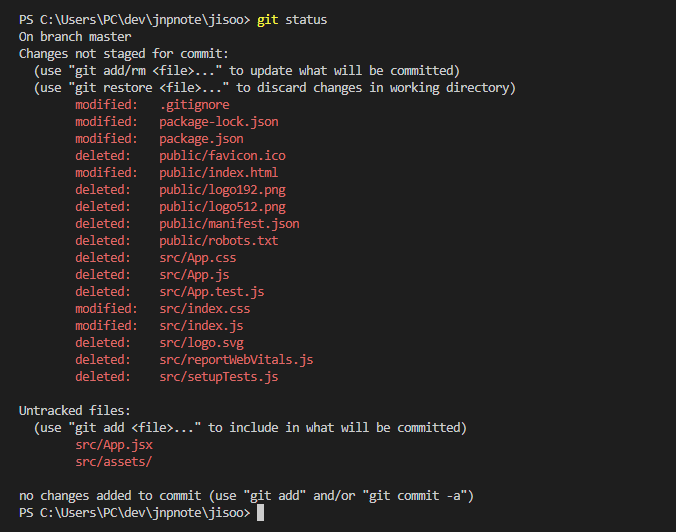
Here is my git status.
Add all modified/deleted/created files to the staging by
git add .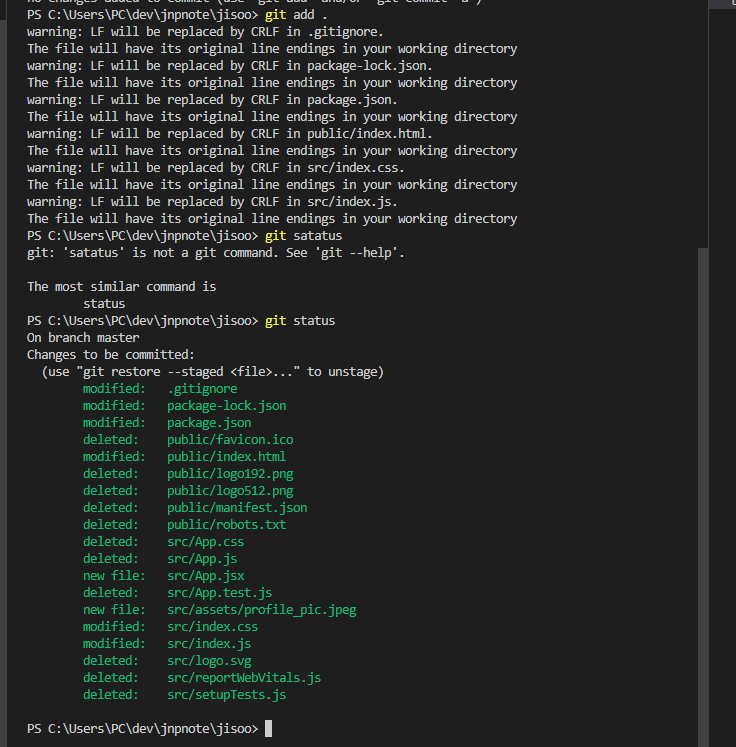
make commit with message
git commit -m "first commit-setup the react project"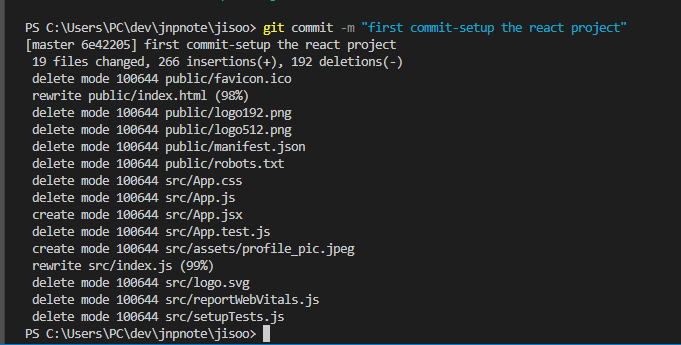
setup the remote branch and push it to master branch.
git remote add origin <your remote url>
git branch -M <branch name(in my case, master)>
git push -u origin master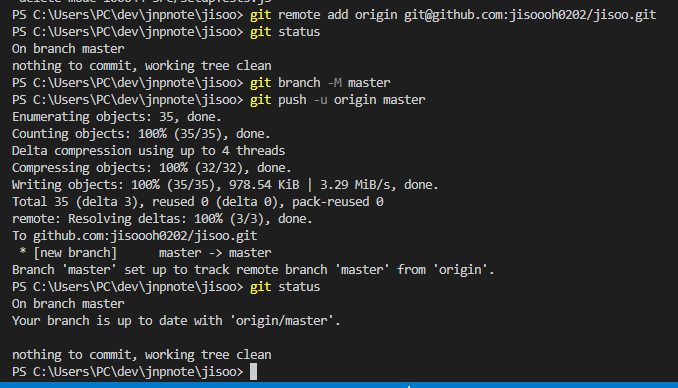
Tip to check/confirm the remote url.
git remote -v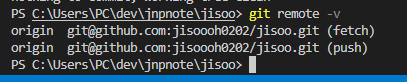
Continue in next post.
