I have Raspberry Pi 2 from my friend, and set it up already. And I worked on building Portfolio Website with React. I want to host this site myself.
I haven’t write post for setting up the RPi, but there are tons of tutorials. You can refer to them to setup the RPi.
I wanted to make the deployment easier, like whenever I push to Github, my rpi server pull the latest commit and build it. I was looking for the tutorial a lot, but most of them are making the rpi itself as remote. However, I wanted to use github as my remote. Push my local work to github, and Pull the latest commit on github to rpi. And I found a package name git-auto-deploy, but I was kind of confusing about webhooks, so I was searching more. And found this Youtube video Automatic Deployment With Github Actions.
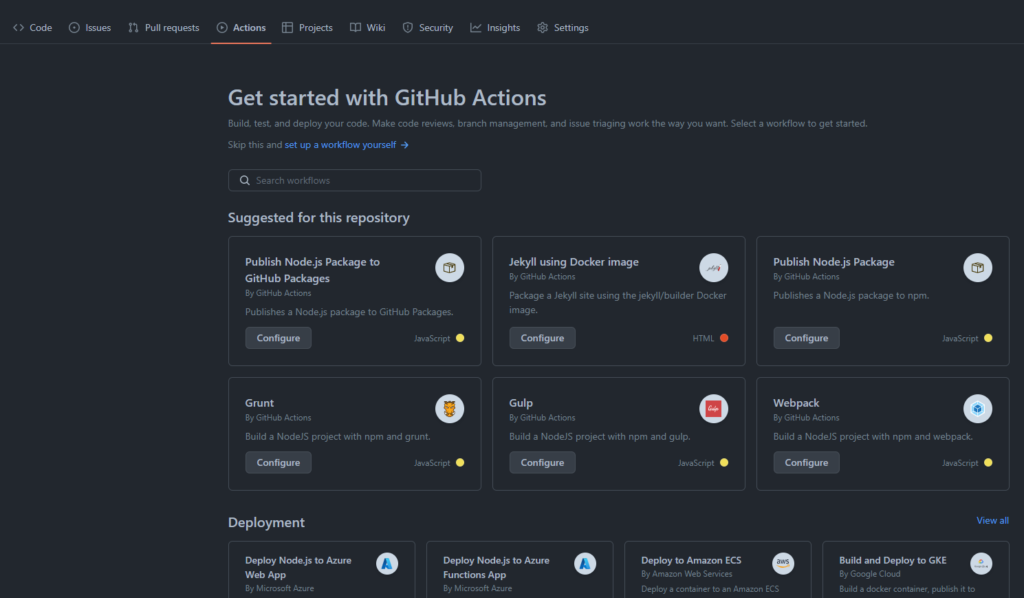
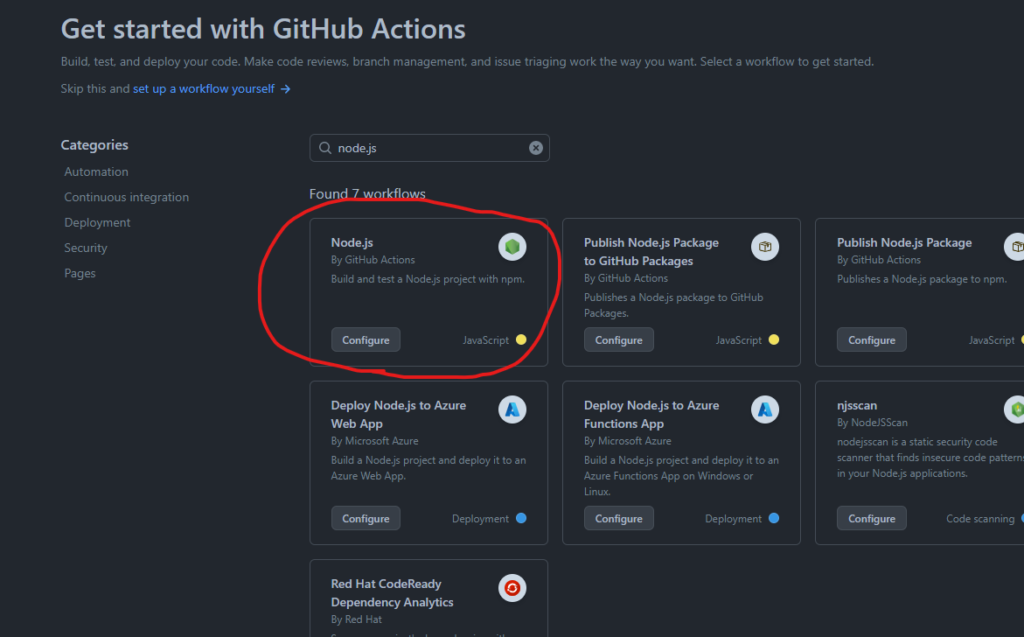
Since we are deploying react project, you can find or search for Node.js
Now edit the file as you need to.
on: tells github when should trigger the job
jobs: whenever the trigger happens run everything below jobs.
Here is the edited file for my case. just deleted pull-request trigger from on: and changed node-version and run: npm ci to run: npm i
# This workflow will do a clean installation of node dependencies, cache/restore them, build the source code and run tests across different versions of node
# For more information see: https://docs.github.com/en/actions/automating-builds-and-tests/building-and-testing-nodejs

name: Node.js CI

on:
  push:
    branches: [ "master" ]

jobs:
  build:

    runs-on: self-hosted

    strategy:
      matrix:
        node-version: [19.x]
        # See supported Node.js release schedule at https://nodejs.org/en/about/releases/

    steps:
    - uses: actions/checkout@v3
    - name: Use Node.js ${{ matrix.node-version }}
      uses: actions/setup-node@v3
      with:
        node-version: ${{ matrix.node-version }}
        cache: 'npm'
    - run: npm i
    - run: npm run build --if-present
    - run: npm test
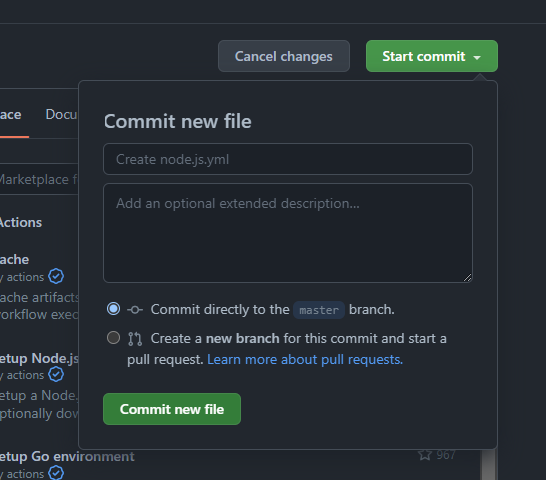
commit this
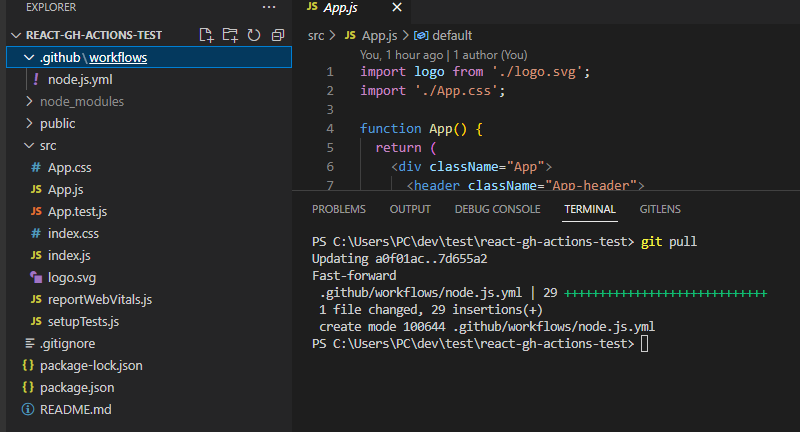
After commit, pull the latest commit on your local machine.
You will be able to see .github/workflow folder on your project
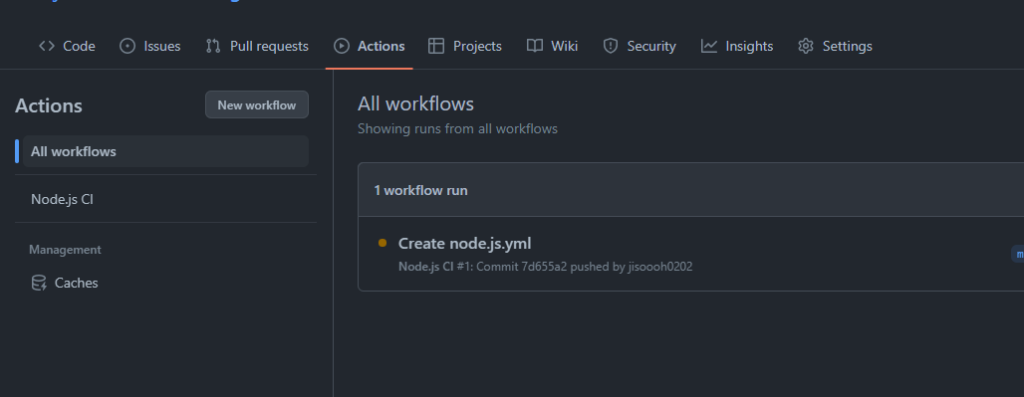
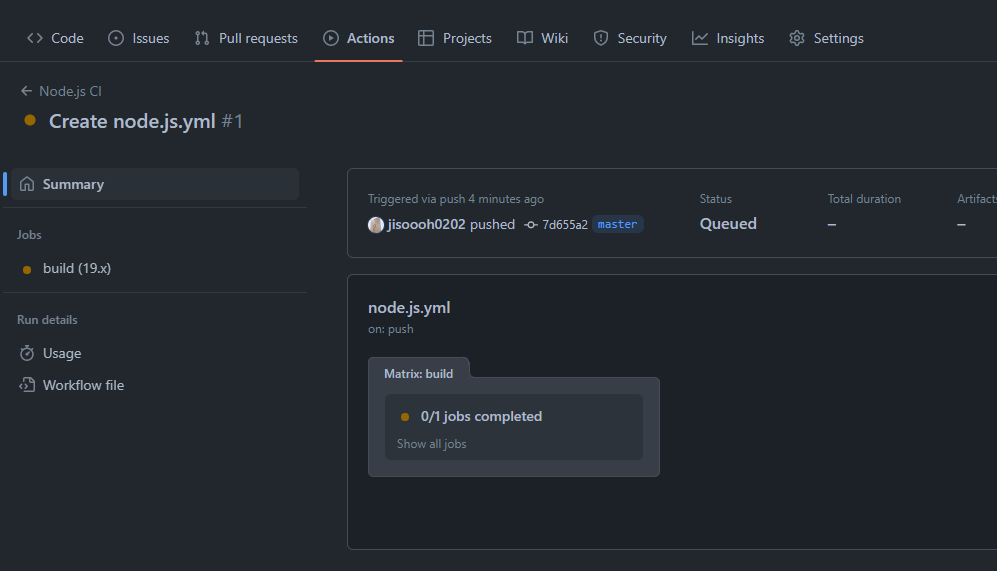
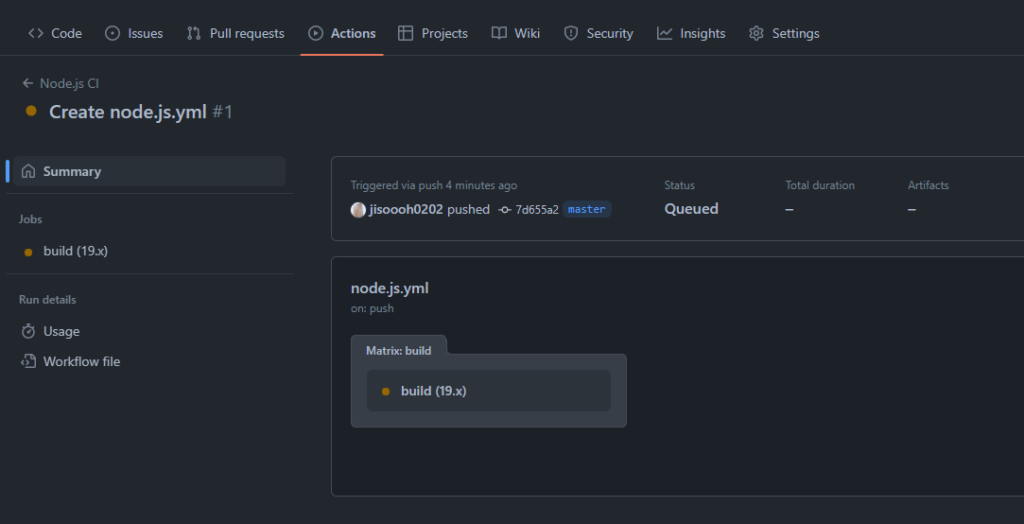
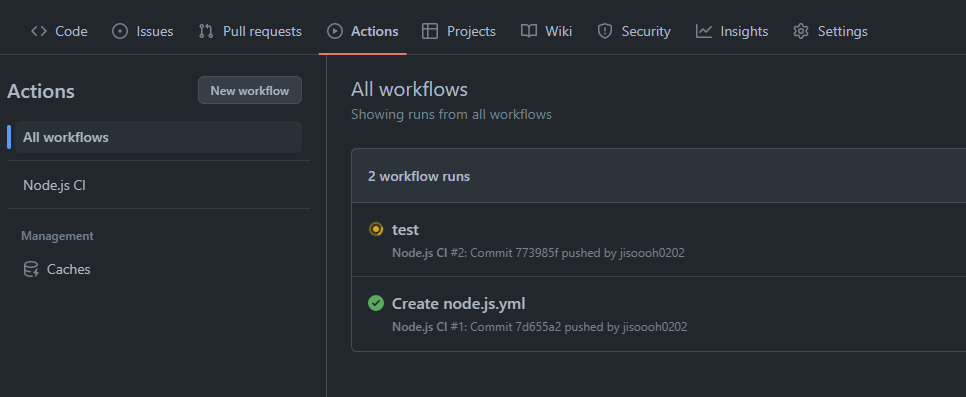
Go to your actions tab
click all the way to run the job
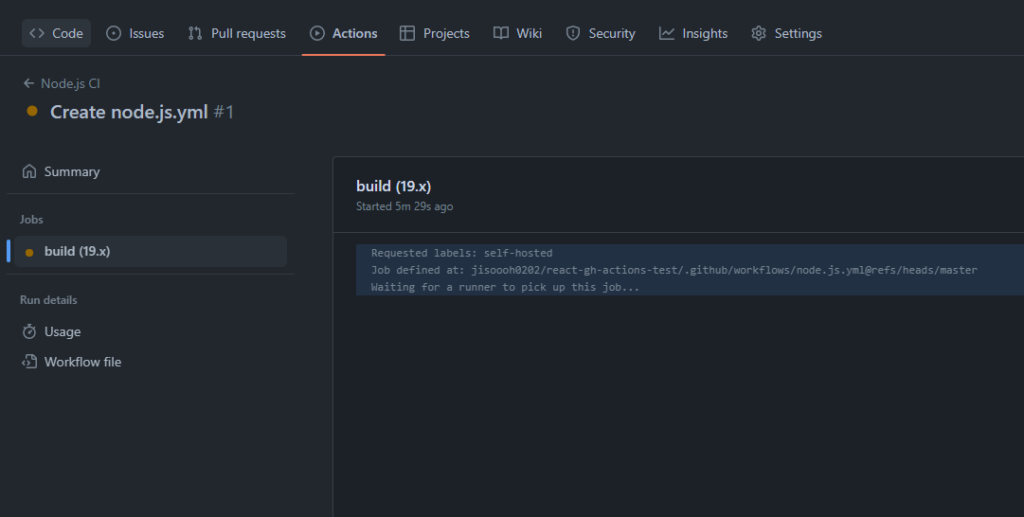
it will show waiting for a runner to pick up this job.
3. Setup the Runner on RPi
We need runner on our server that is listening the jobs.
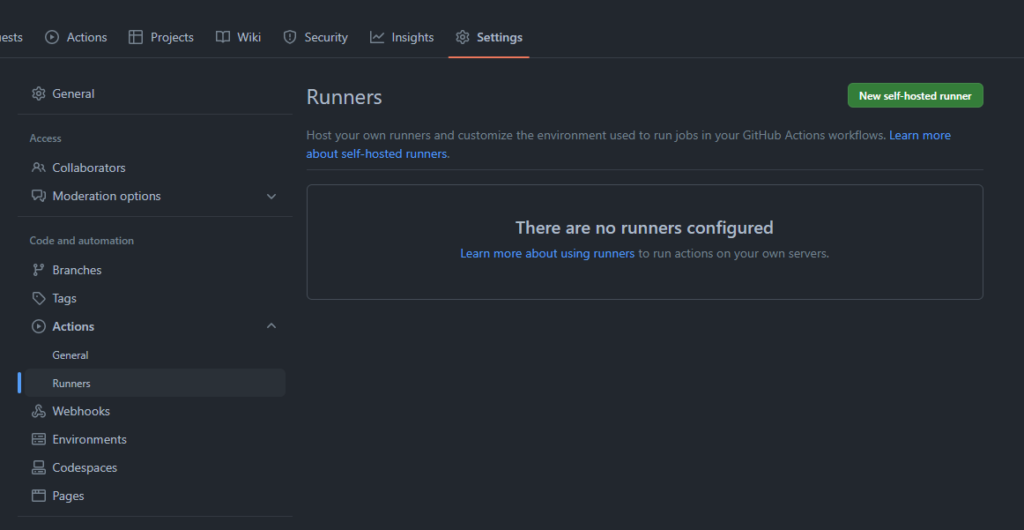
To create the runner, go to settings, and runner under actions tab
click New self-hosted runner button
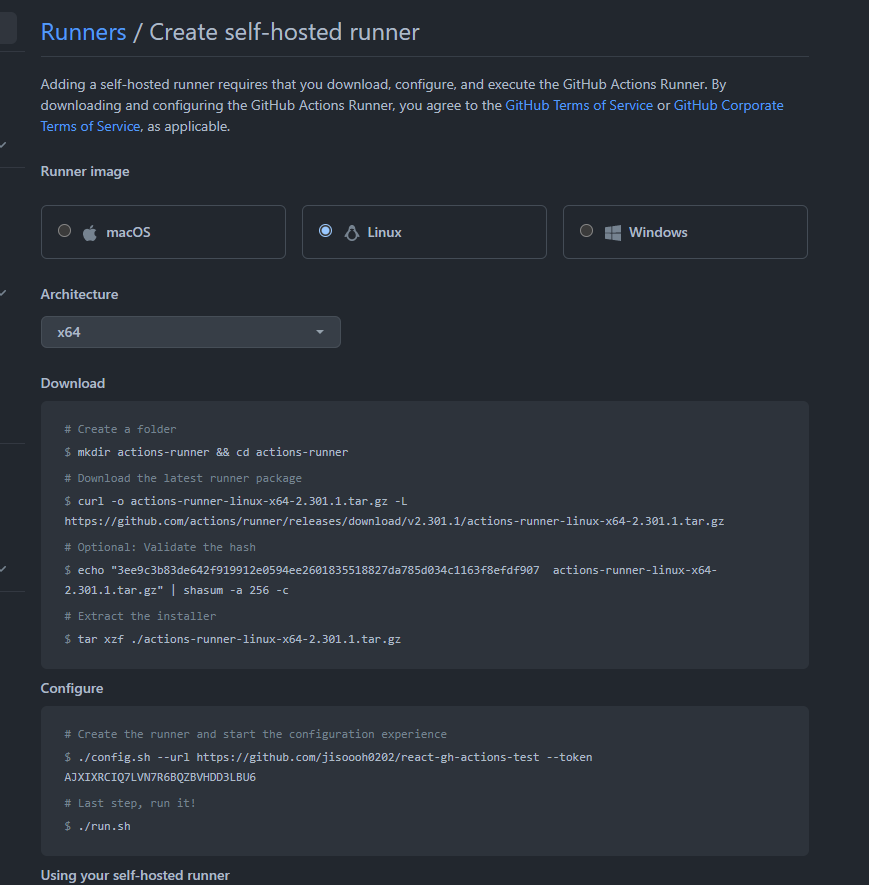
you will see what to do depends on your server system.
connect to your server and navigate to where ever you want to deploy your project.
Follow to download and configure the files as shown above.
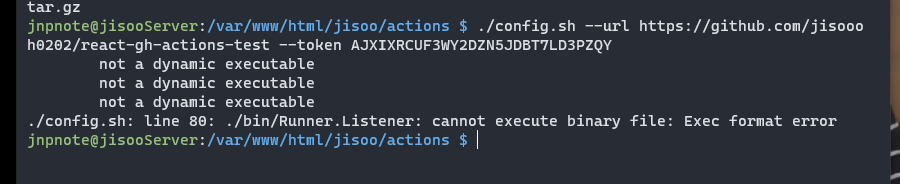
I have downloaded Linux, x64 and I got error when I was trying to configure.
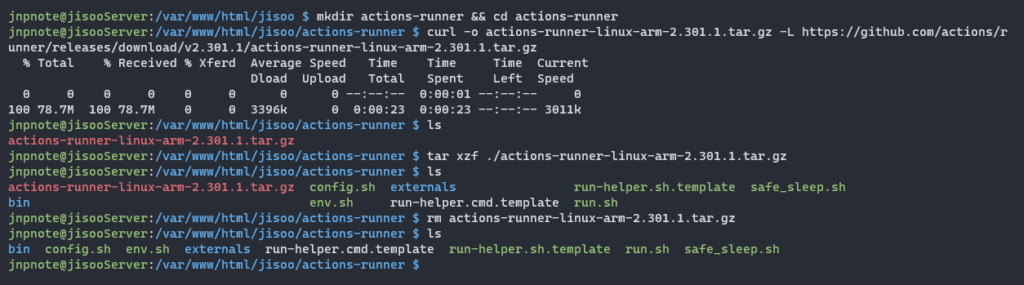
In my case, I needed to download for Linux, ARM.
To find out which kind of Architecture is installed on your linux, use dpkg --print-architecture or uname -a.
Download and install
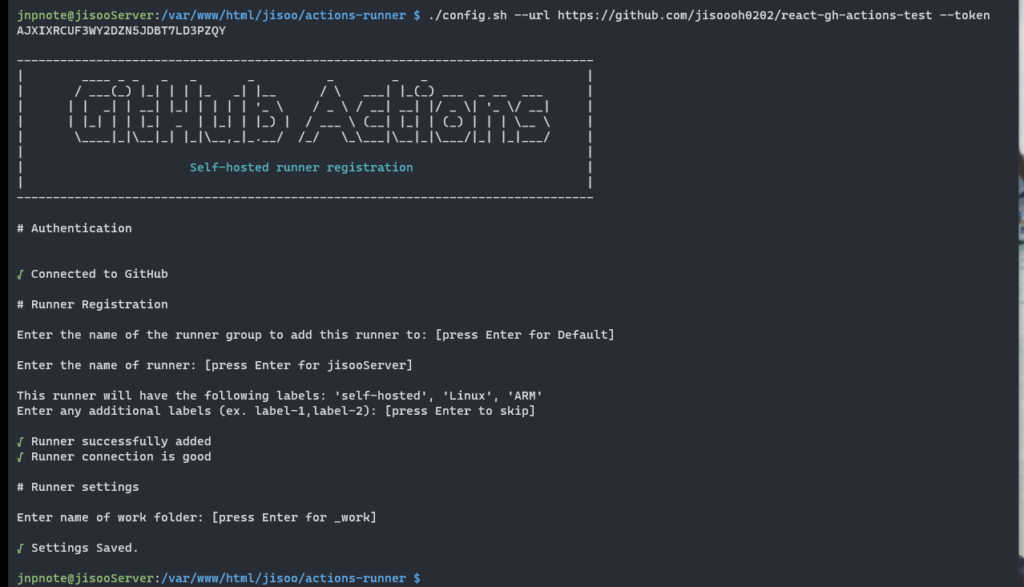
Configure
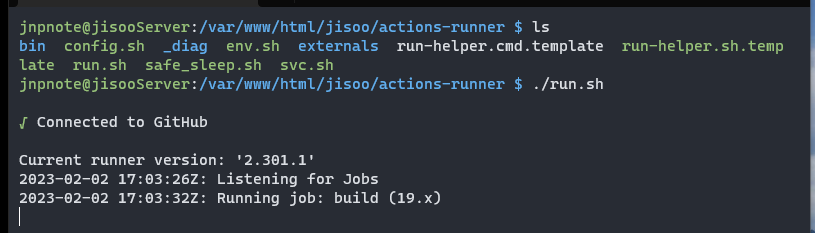
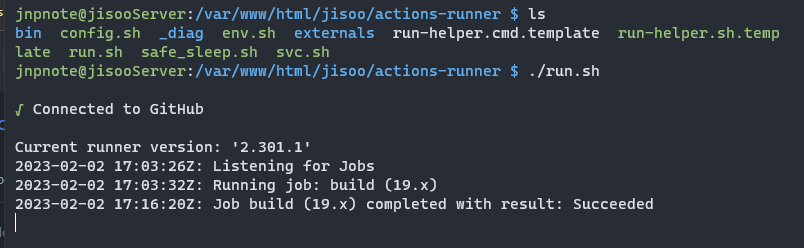
Run it
It is connected and running now.
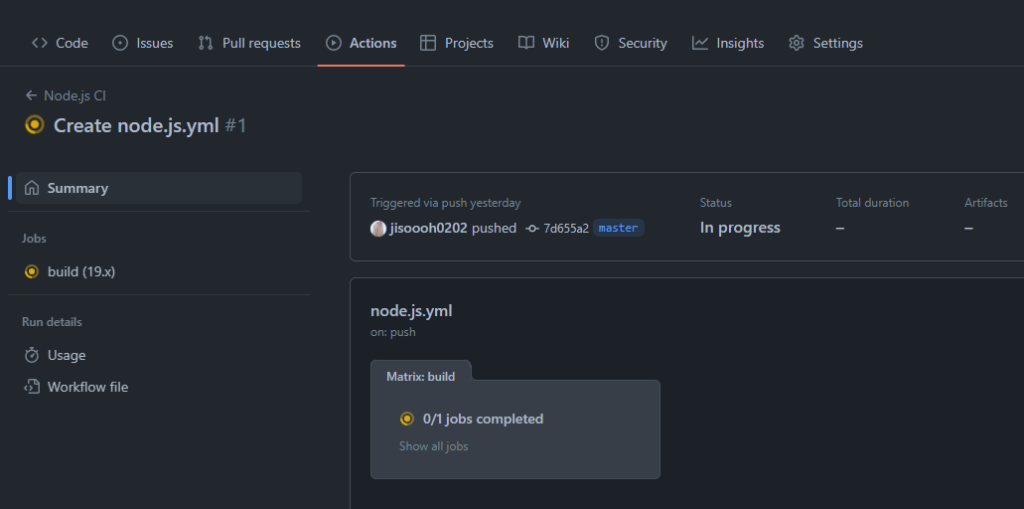
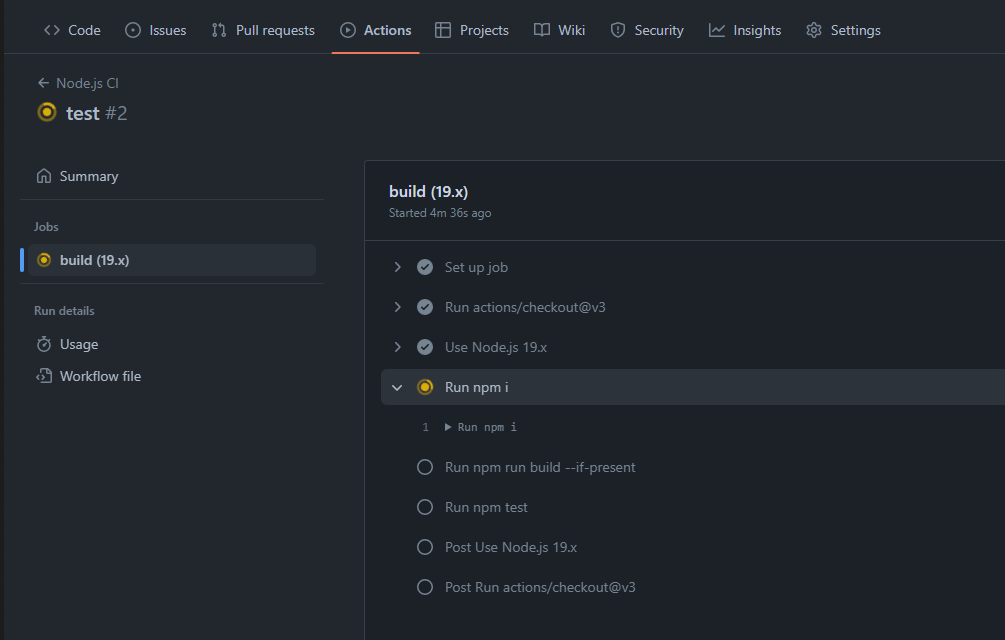
Go to Actions tab on your github, then its status is in progress
On the tutorial video He is saying Re-run jobs, but I don’t see that.
So, I just tried to push the local to github. Then, it starts build and complete.
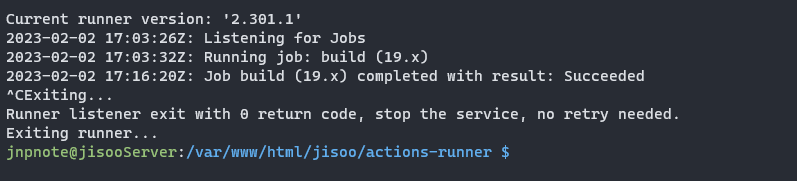
Now, if you exit out of the running jobs, the Github actions stop too.
To make it run svc.sh on background as service. It will run even the server is rebooted.
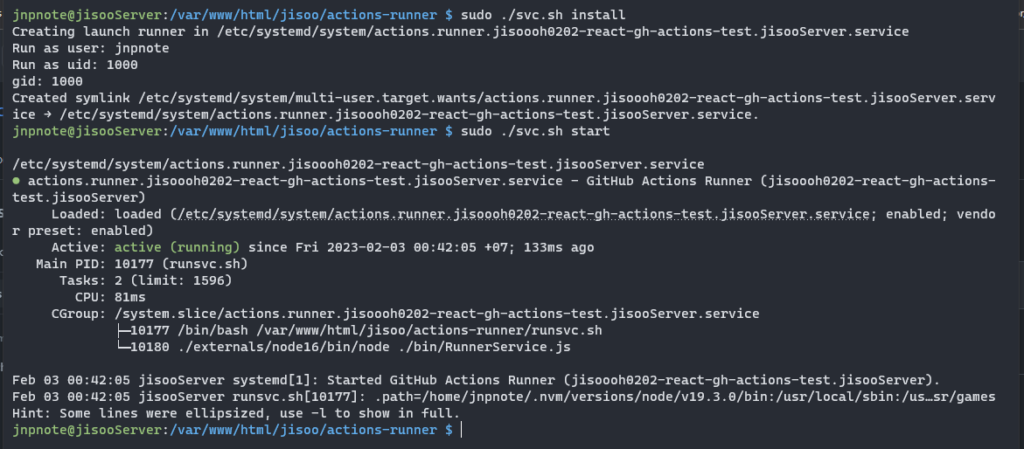
To run svc.sh use below commands.
sudo ./svc.sh install
sudo ./svc.sh start
sudo ./svc.sh status
4. Configure Nginx
If you go to your url, you will still see the 403 error.
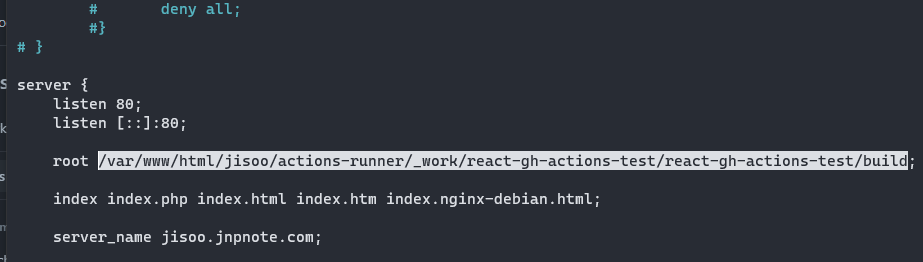
Now, you need to configure the Nginx to point the right directory.
If you entered the work folder while you are configuring the runner on your server, you will see the name. If you didn’t you will see _work folder.
Copy the build folder path.
Run command below, but you can change jisoo to whatever you already have or default in case you didn’t setup any others.
sudo nano /etc/nginx/sites-available/jisoo
replace the existing root path.
ctrl+o and ctrl+x to save and exit
Reload Nginx
sudo systemctl reload nginx
Bang! You are done!
5. Check Auto-Deploy
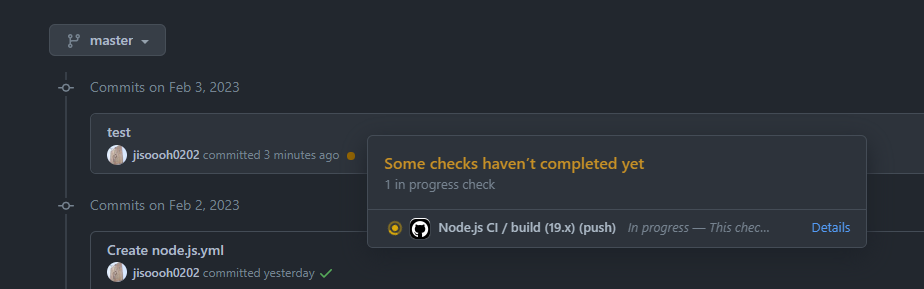
make some changes on your code and push
your commit will have orange dot on it. meaning something in progress
Go to Actions. You will see your commit there in progress.
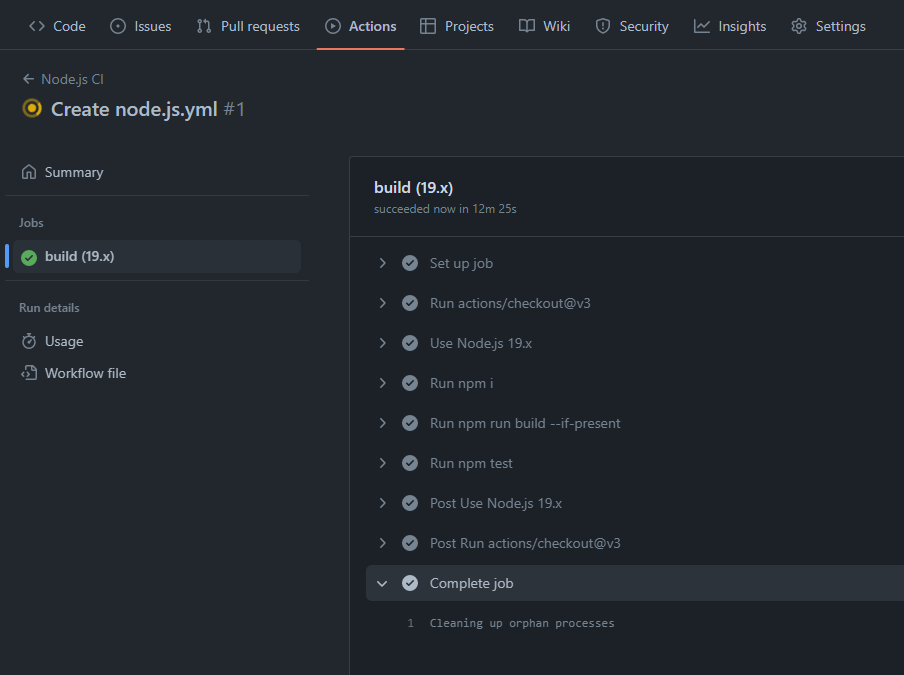
You can see the details or progress of the job.
Bang! Working Great!
6. Conclusion
It is not that difficult to setup, but it was taking more than 10 minutes while the tutorial video was taking less than a minute because my RPi is old and not powerful. So, I would deploy by just copy paste the build folder.