Following Django Tutorial (Todo App)-Part4

This post is for myself to remember how to start the basic Django project.
I did follow the tutorial from the JustDjango Learn website free tutorial.
And this is the first tutorial named Django Crash Course.
As previous parts, I am not going over all the details and descriptions for each part. There are good explanations on video of the JustDjango Learn. So, visit their site and try their tutorials if you need more details. Also, the orders of this post and their video might be different because I put things first what I think should come first.

In this post, I will cover about the CRUD(Create, Retrieve, Update, Delete and List)

1. Detail(Retrieve)

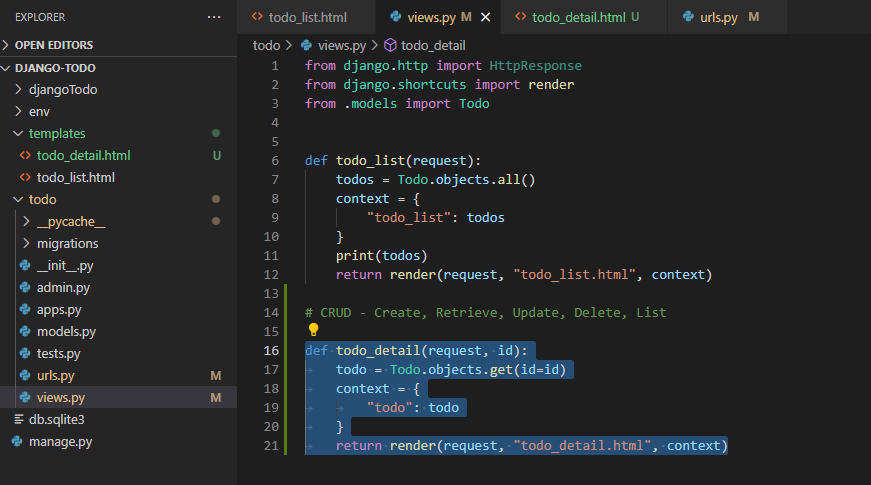
  • Go to views.py under todo folder
  • Write or copy the code below to add and save the file.
def todo_detail(request, id):
	todo = Todo.objects.get(id=id)
	context = {
		"todo": todo
	}
	return render(request, "todo_detail.html", context)
  • For the html file, if you created the templates inside of todo folder, you might need todo/ path in front of todo_detail.html.
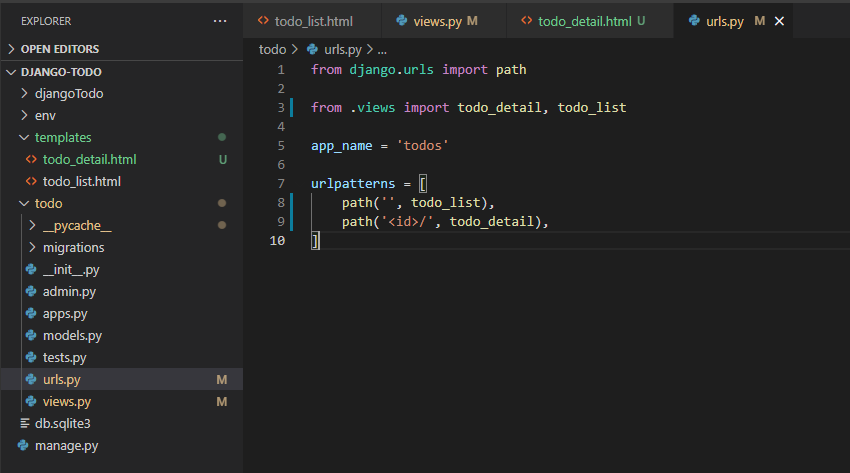
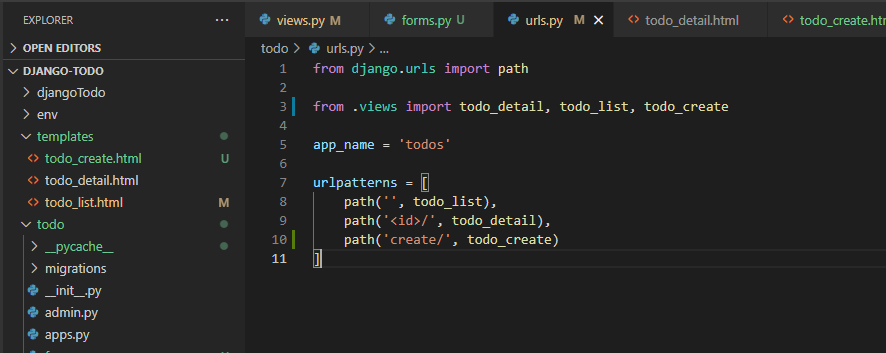
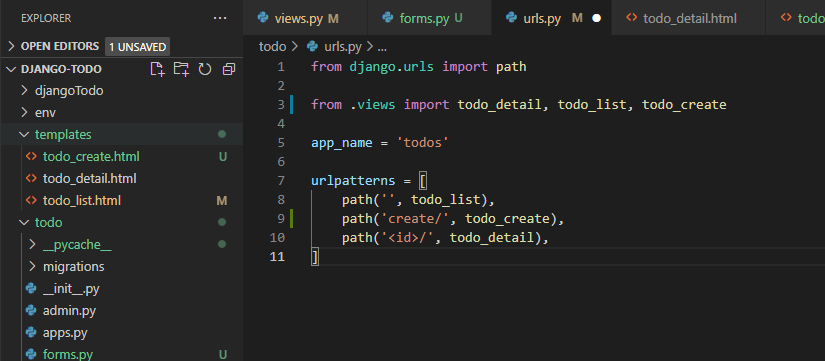
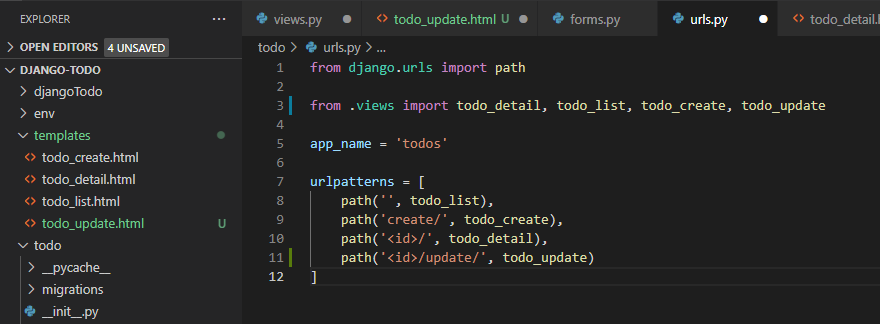
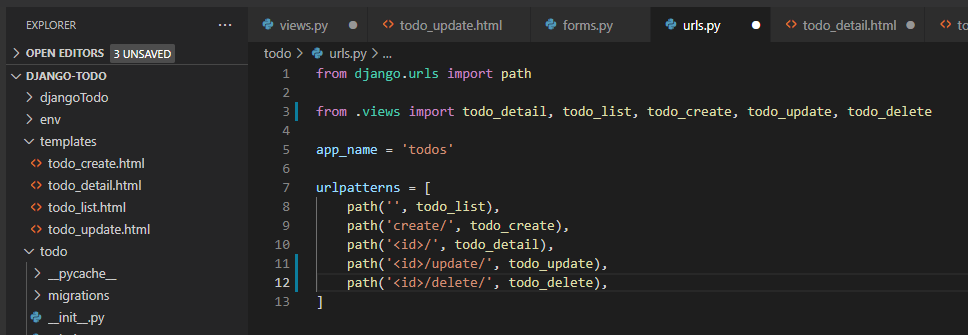
  • Go to urls.py under todo folder.
  • Write or copy the code below to add and save the file.
from django.urls import path

from .views import todo_detail, todo_list

app_name = 'todos'

urlpatterns = [
	path('', todo_list),
	path('<id>/', todo_detail),
]
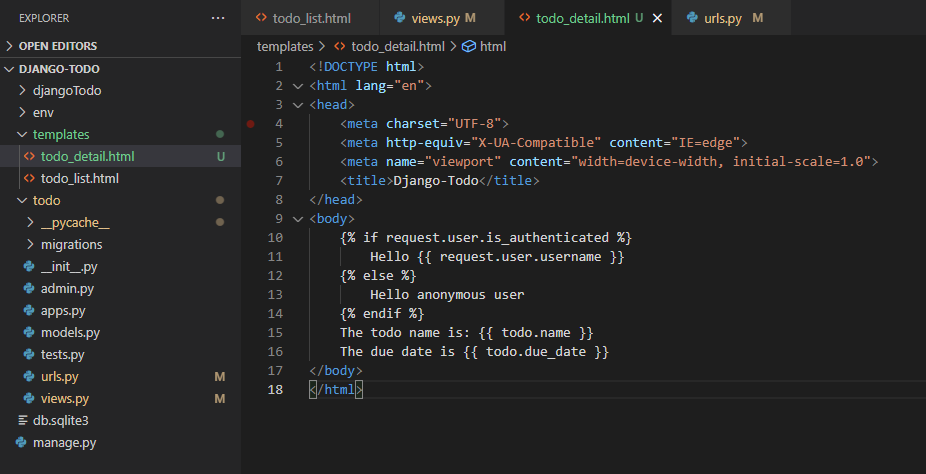
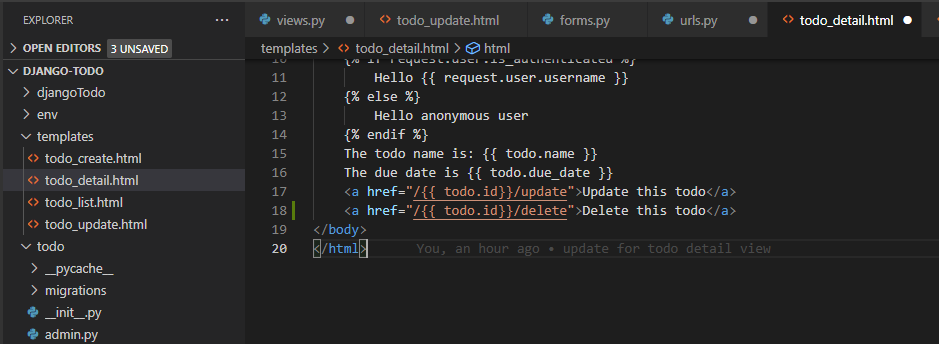
  • Create new file under templates folder name “todo_detail.html”
  • Write or copy the code below and save the file.
<!DOCTYPE html>
<html lang="en">
<head>
	<meta charset="UTF-8">
	<meta http-equiv="X-UA-Compatible" content="IE=edge">
	<meta name="viewport" content="width=device-width, initial-scale=1.0">
	<title>Django-Todo</title>
</head>
<body>
	{% if request.user.is_authenticated %}
		Hello {{ request.user.username }}
	{% else %}
		Hello anonymous user
	{% endif %}
	The todo name is: {{ todo.name }}
	The due date is {{ todo.due_date }}
</body>
</html>
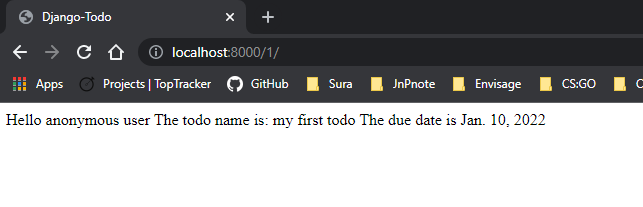
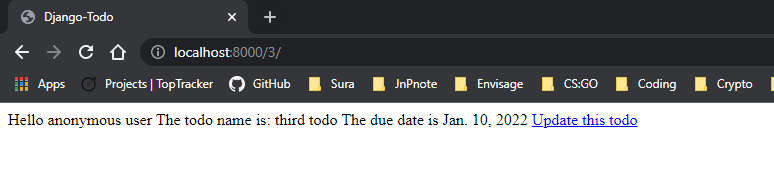
  • Go to browser and go to “localhost:8000/1”
  • You will see like the below screenshot.
  • To add click to see this detail page from the todo list.
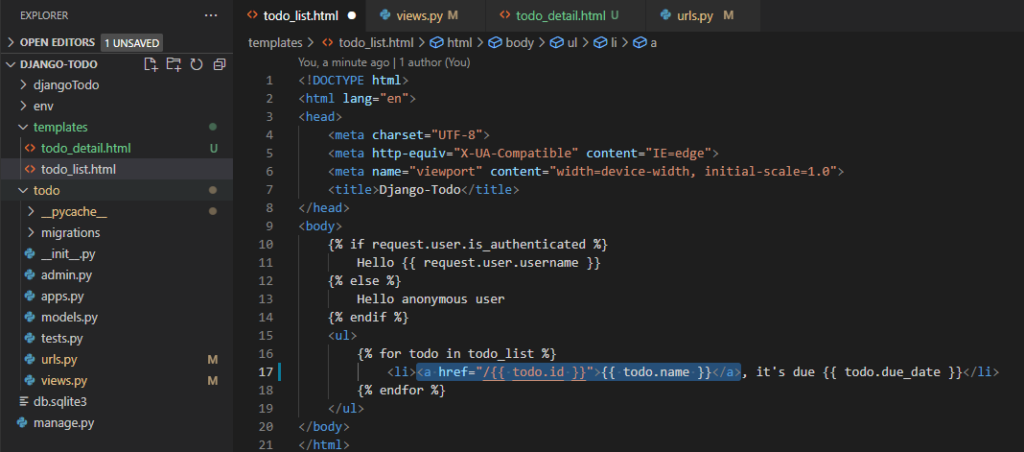
  • Go to todo_list.html file
  • Write or copy the code below to add and save the file.
<a href="/{{ todo.id }}">{{ todo.name }}</a>
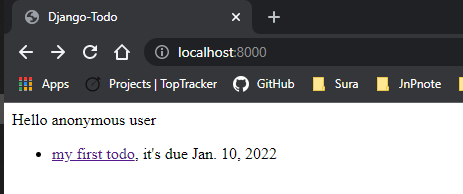
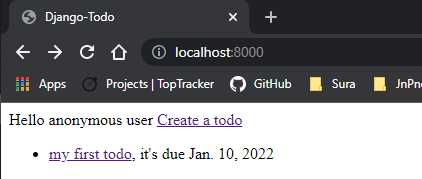
  • go to “localhost:8000” on your browser.
  • You will see like the screenshot below.
  • Click your todo name to see the detail.
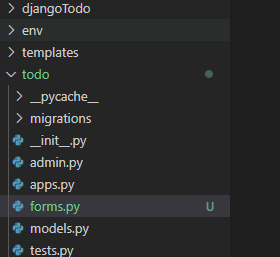
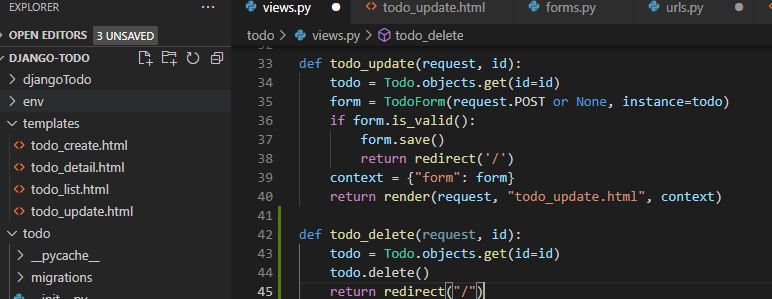
2. Create

  • Create new file name “forms.py” under todo folder
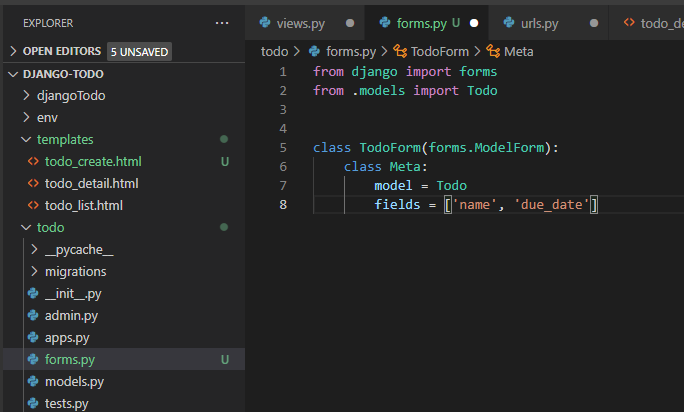
  • Write or copy the code below in forms.py
from django import forms
from .models import Todo


class TodoForm(forms.ModelForm):
	class Meta:
		model = Todo
		fields = ['name', 'due_date']
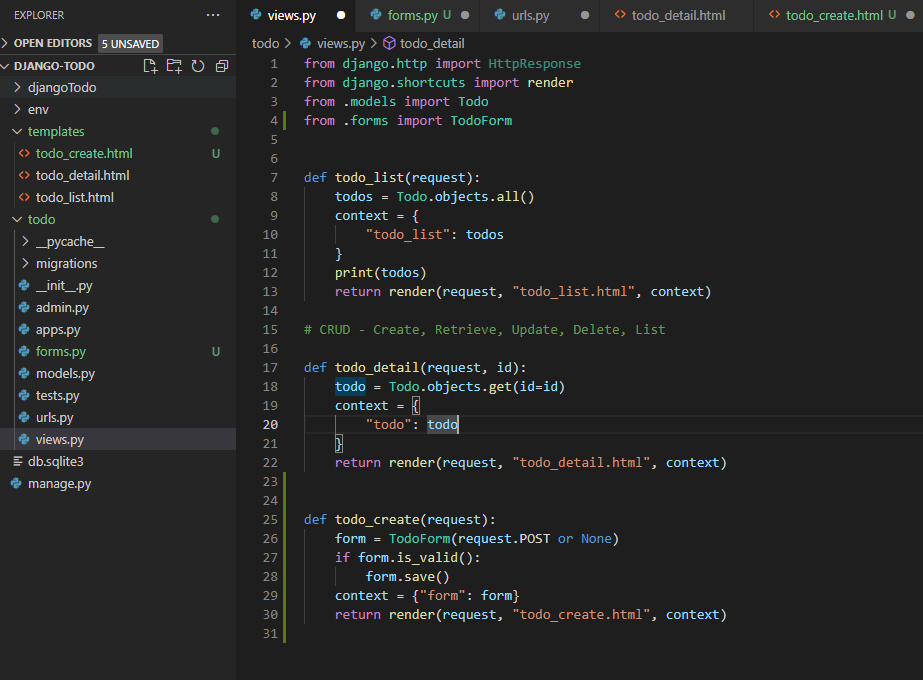
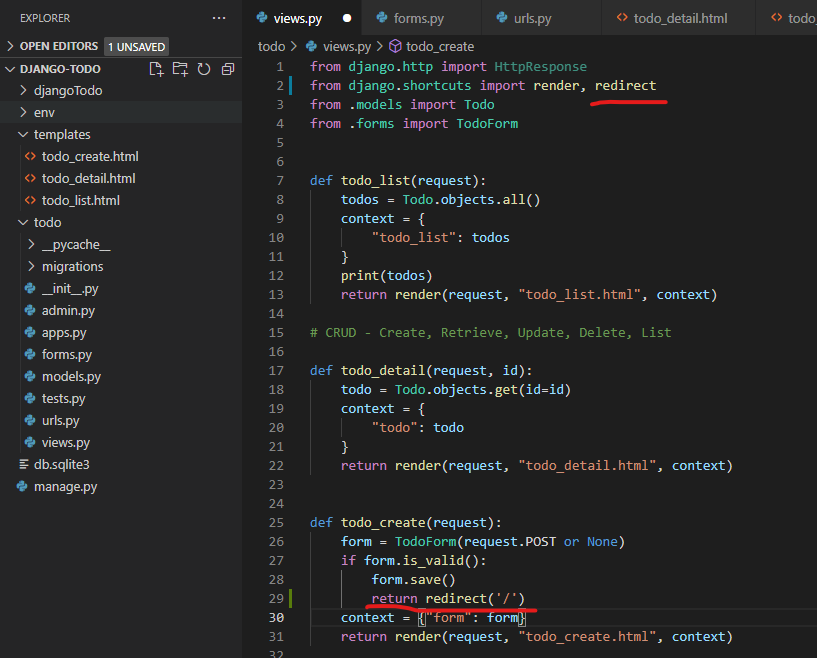
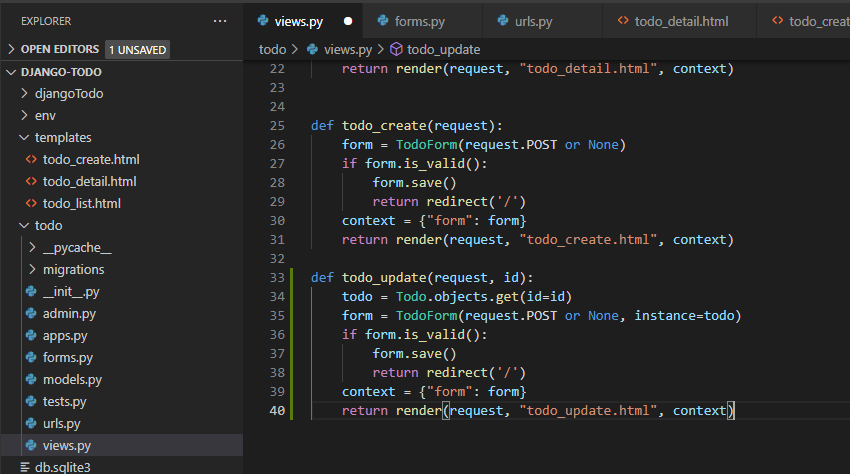
  • Go to views.py
  • write or copy the code below
from .forms import TodoForm


def todo_create(request):
	form = TodoForm(request.POST or None)
	if form.is_valid():
		form.save()
	context = {"form": form}
	return render(request, "todo_create.html", context)
	
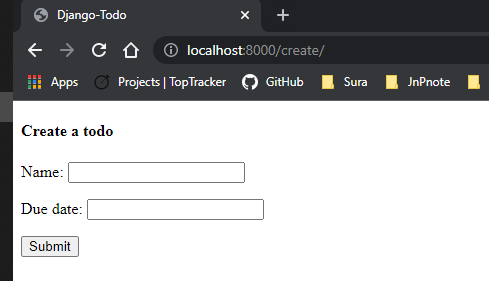
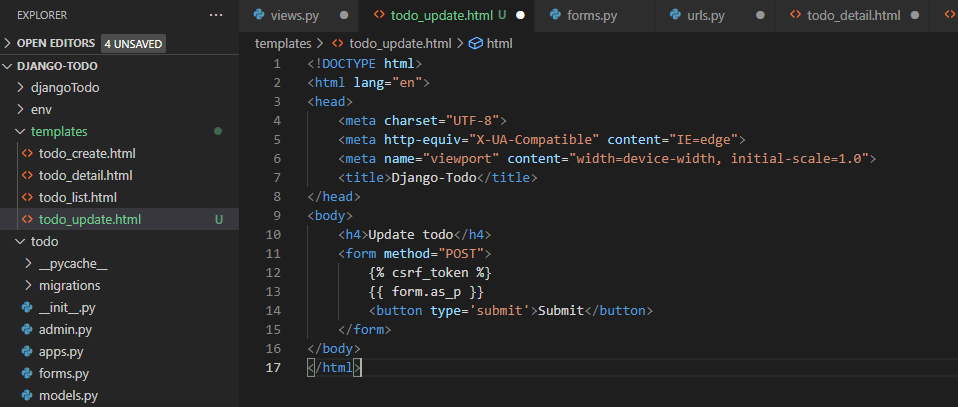
  • Create new file name todo_create.html under templates folder.
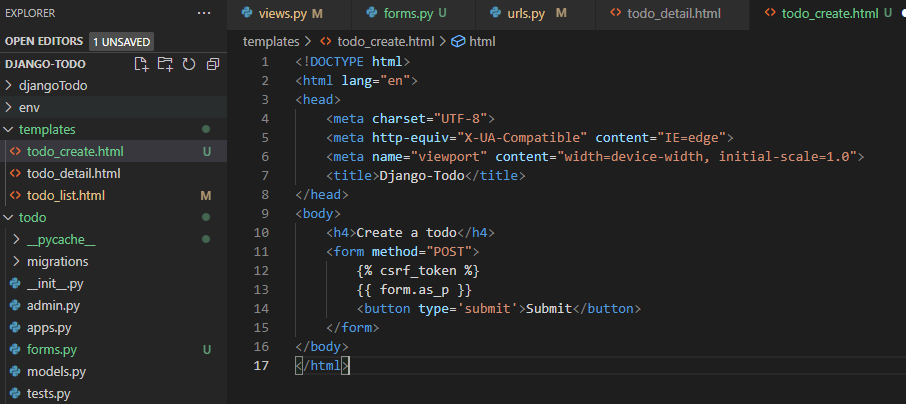
  • Write or copy the code below
<!DOCTYPE html>
<html lang="en">
<head>
	<meta charset="UTF-8">
	<meta http-equiv="X-UA-Compatible" content="IE=edge">
	<meta name="viewport" content="width=device-width, initial-scale=1.0">
	<title>Django-Todo</title>
</head>
<body>
	<h4>Create a todo</h4>
	<form method="POST">
		{% csrf_token %}
		{{ form.as_p }}
		<button type='submit'>Submit</button>
	</form>
</body>
</html>
  • .as_p makes forms in parallel
  • go to todo_list.html file
  • Add the code below to add create button
<a href="/create">Create a todo</a>
  • go to urls.py
  • import todo_create and add the path
from django.urls import path

from .views import todo_detail, todo_list, todo_create

app_name = 'todos'

urlpatterns = [
	path('', todo_list),
	path('<id>/', todo_detail),
	path('create/', todo_create)
]
  • You will see the screenshot like below.
  • if you click “create a todo” button, you will see the error like the screenshot below.
  • this is because django go through line by line the path on urls.py. (I don’t quite understand though….lol)
  • Anyway, to solve this, bring the create path above the id path.
  • Now you will see the create page when you click the create button.
  • If you submit the form, you will see the form stays there and looks like nothing happened.
  • but if you go to home, “localhost:8000”, you will see it is added.
  • To redirect after submit
  • import redirect from django.shortcuts
  • and add below code after form.save()
return redirect('/')
  • Now you will be redirected to the home after submit the create todo.

3. Update

  • go to views.py
  • write or copy the code below
def todo_update(request, id):
	todo = Todo.objects.get(id=id)
	form = TodoForm(request.POST or None, instance=todo)
	if form.is_valid():
		form.save()
		return redirect('/')
	context = {"form": form}
	return render(request, "todo_update.html", context)
  • again, for description of these, please watch their video.
  • it is basically combination of todo_create and todo_detail.
  • create todo_update.html file under templates
  • you can copy the below code or just copy the todo_create.html and change create to update since update is using same form of create
<!DOCTYPE html>
<html lang="en">
<head>
	<meta charset="UTF-8">
	<meta http-equiv="X-UA-Compatible" content="IE=edge">
	<meta name="viewport" content="width=device-width, initial-scale=1.0">
	<title>Django-Todo</title>
</head>
<body>
	<h4>Update todo</h4>
	<form method="POST">
		{% csrf_token %}
		{{ form.as_p }}
		<button type='submit'>Submit</button>
	</form>
</body>
</html>
  • go to todo_detail.html
  • add update button
<a href="/{{ todo.id}}/update">Update this todo</a>
  • go to urls.py
  • import todo_update and add path
  • Now you will see the update button on detail page and try to update them.

4. Delete

  • go to views.py
  • write or copy the below code to add delete function
def todo_delete(request, id):
	todo = Todo.objects.get(id=id)
	todo.delete()
	return redirect("/")
  • go to urls.py
  • import todo_delete and add path for delete
  • go to todo_detail.html
  • add delete button
<a href="/{{ todo.id}}/delete">Delete this todo</a>
  • now you will see the delete button.

Done for this post and next will be about the styling.