This post is following from the part1. As I mentioned at last on previous post, I used two different name of project, djangoTodo and test_1. It is because I started the project first and then start writing this blog for record and understand more for myself, so I restarted the test one to do it over again. I will resume to the original project name djangoTodo in middle of this post.
There are some explanation of each files like manage.py, settings.py, urls.py, and etc. on video of the JustDjango Learn. I will not go over those in this post, so please visit their site to watch the video if you need. Also, the orders of this post and their video might be different because I think adding create super user should be comes first.
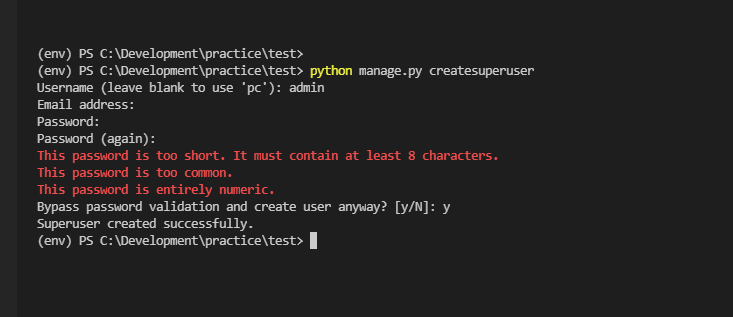
1. Create Super User
If you are following from the last part, stop the server(ctrl+c)
Type “python manage.py createsuperuser”
Enter the username, email, and password there.
I left blank for email and used just simple password and it gives warning, but I just say yes.
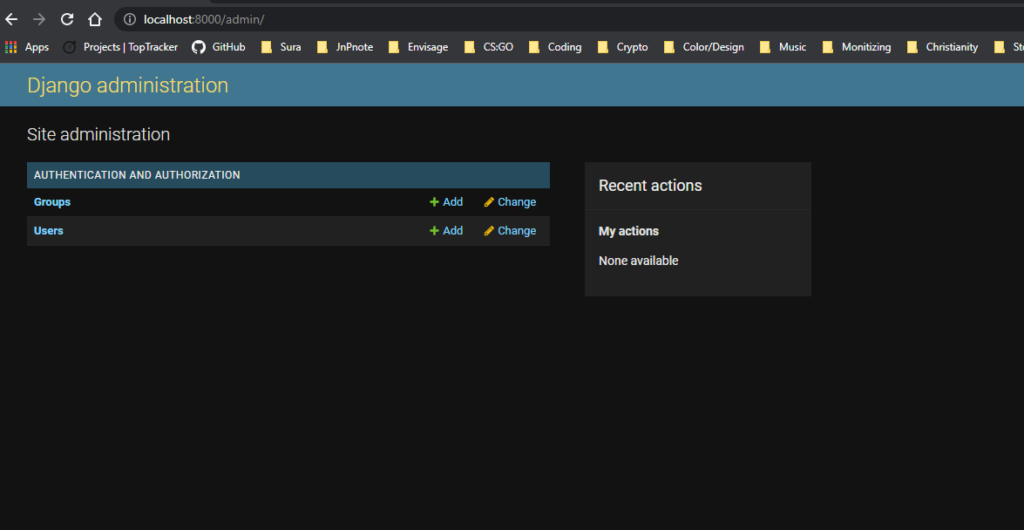
Run the server “python manage.py runserver”
Now go to the browser and go to “localhost:8000/admin”
type your username and password
I don’t know why my site is in dark mode. Even I turned off my settings….
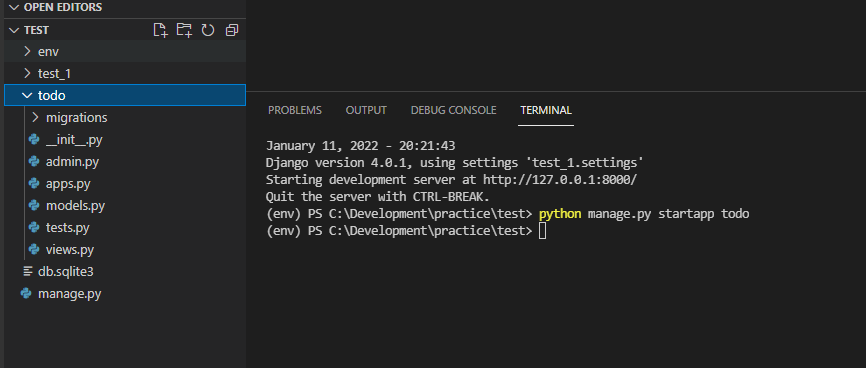
2. Creating App
Again stop the server
Run “python manage.py startapp todo”
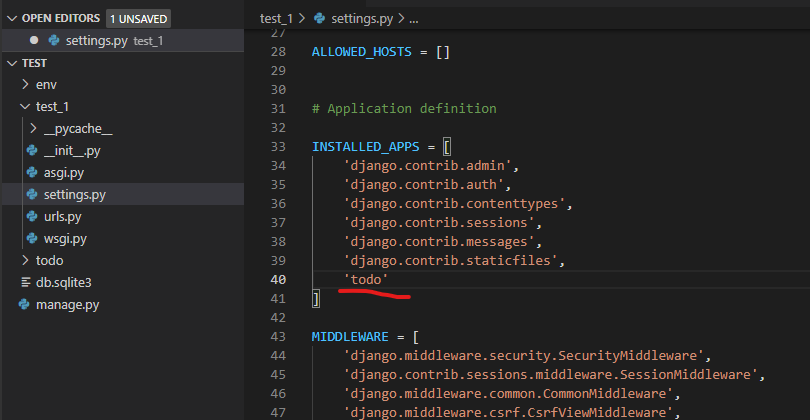
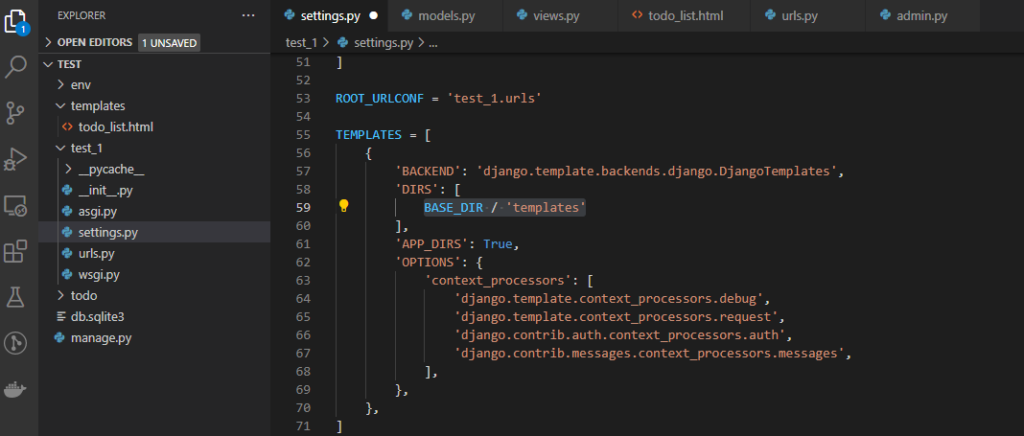
3. Setup the settings for newly created app
Go to settings on your project folder. In my case, test_1 or djangoTodo folders.
Find “INSTALLED_APPS” and add newly created app name. In this case, “todo”
Save file
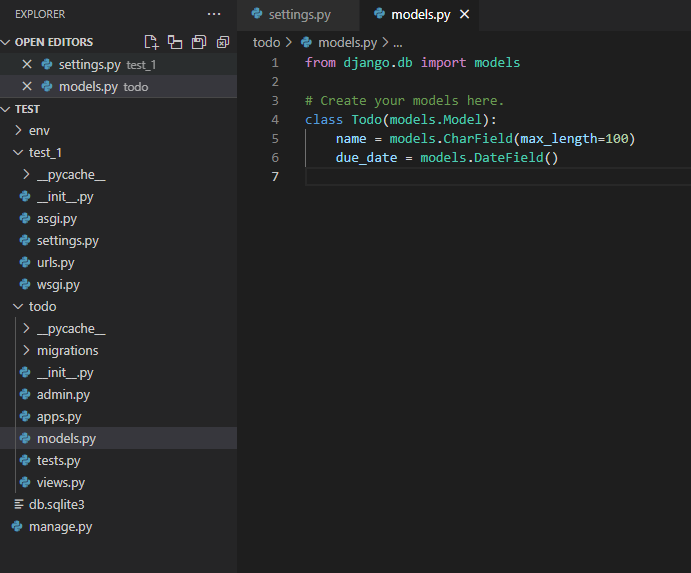
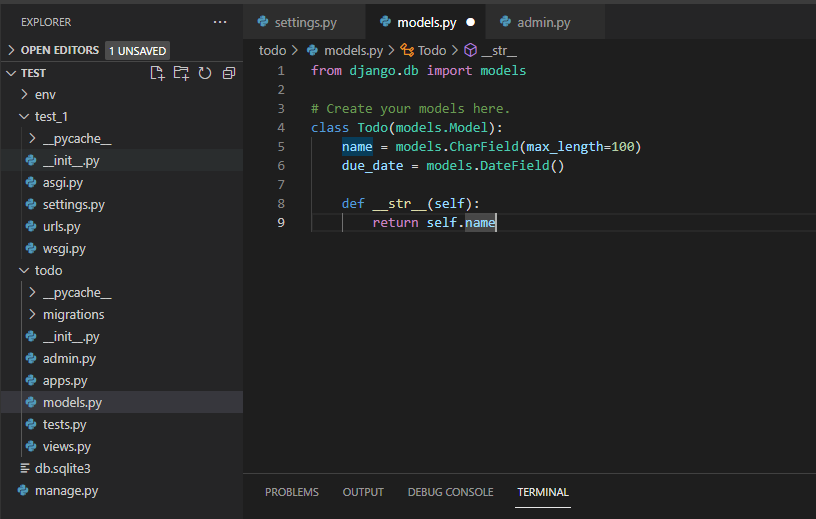
4. models.py
Go to models.py under todo folder
Write or copy the code below
class Todo(models.Model):
	name = models.CharField(max_length=100)
	due_date = models.DateField()
Save the file.
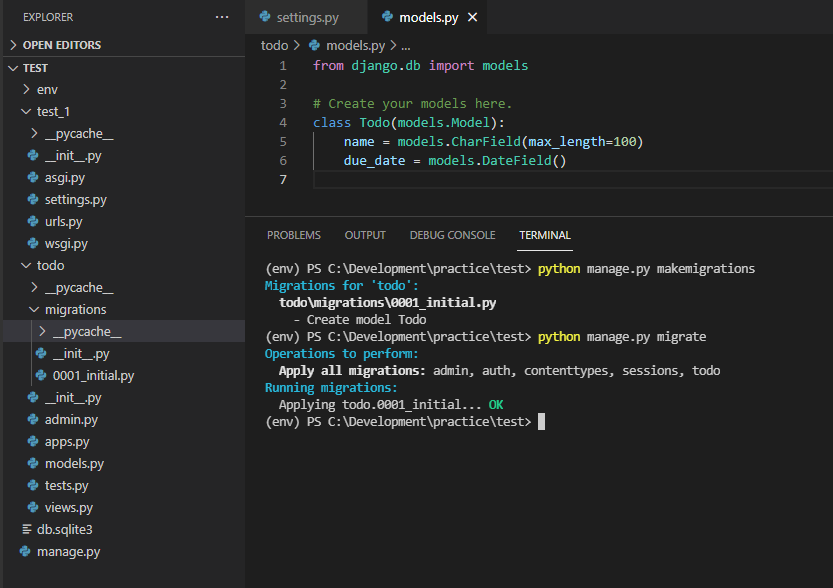
5. Migration
Type “python manage.py makemigrations”
To apply migrations run “python manage.py migrate”
Again, all the detail explanations are in JustDjango Learn video tutorial.
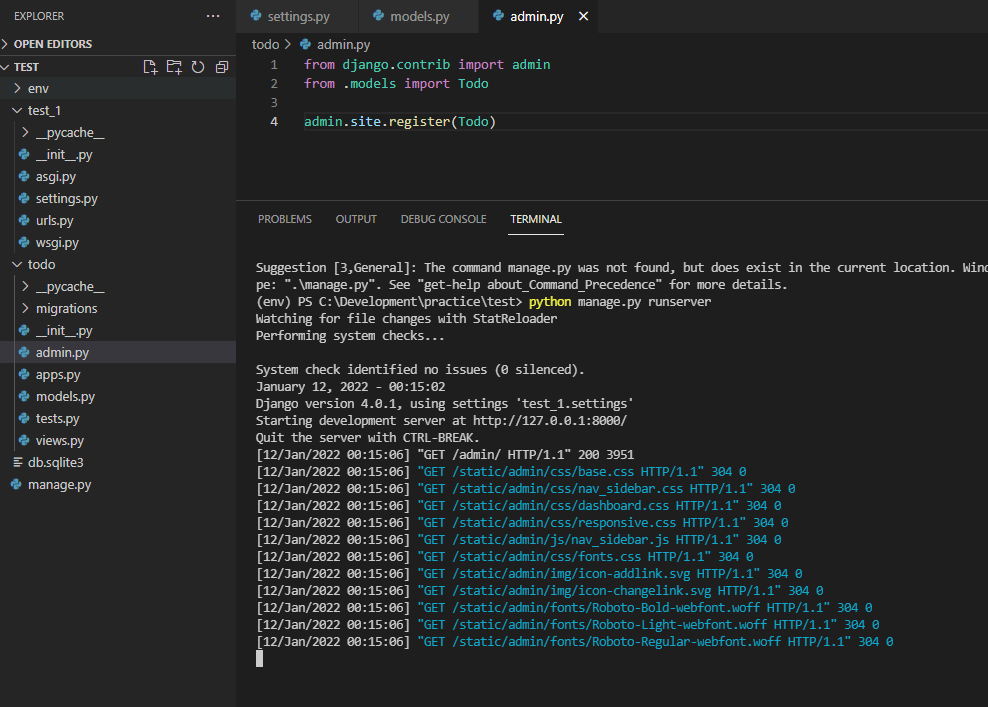
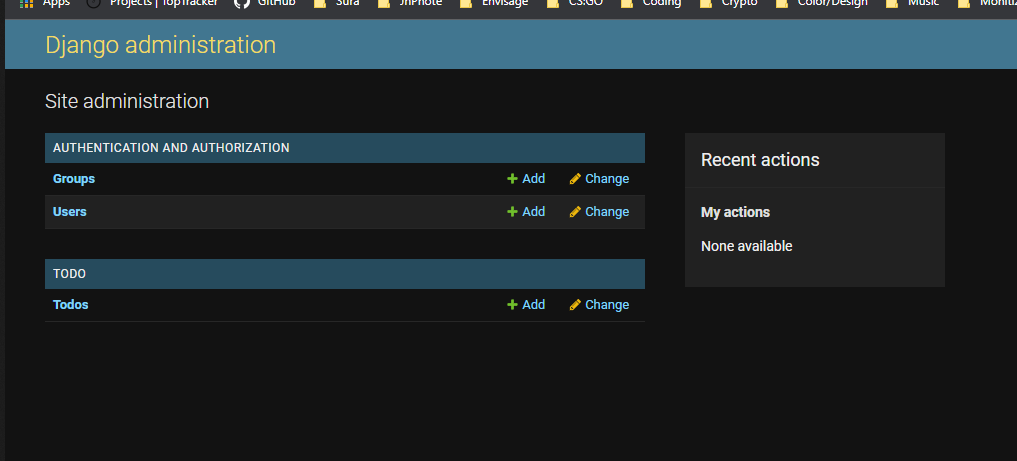
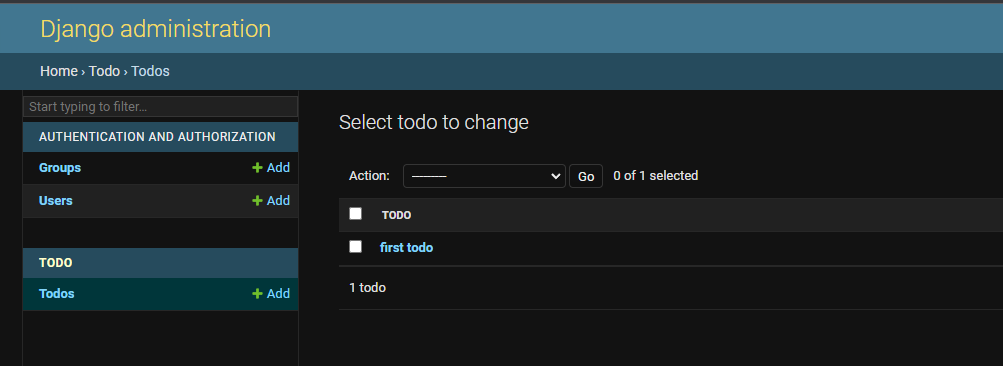
6. Show todo on admin
Go to admin.py file under todo folder
Write or copy the code below
from .models import Todo

admin.site.register(Todo)
Save the file
Run Server
Refresh the browser page
7. Return the name as entered
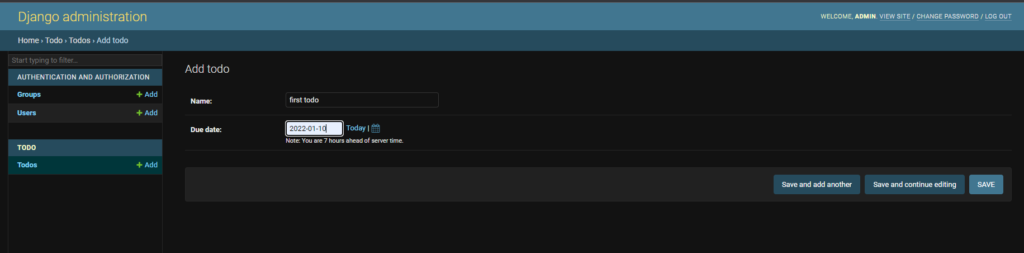
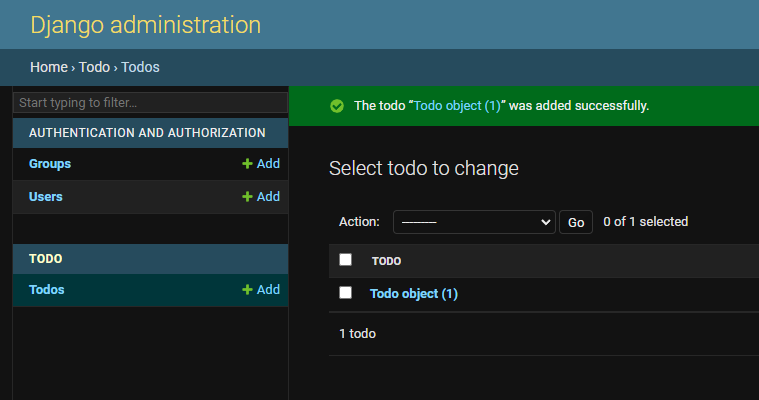
Try add on TODO
You will see the name as “Todo object(1)”
Make this as name you entered
Go to models.py file
Write or copy the code below
	def __str__(self):
		return self.name
Save the file
Refresh the browser
You will see what you entered now.
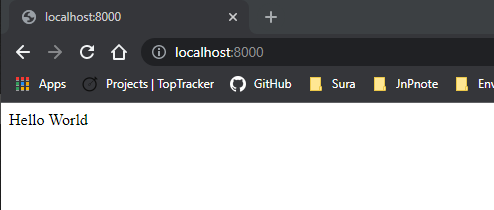
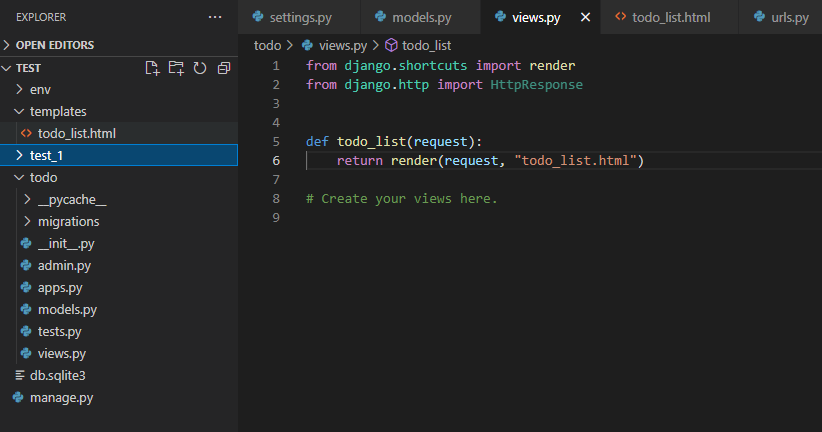
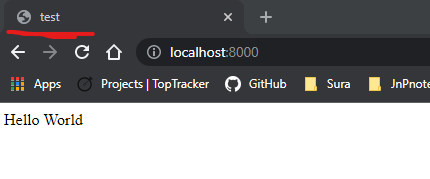
8. Using HttpResponse to show Hello World
Go to views.py
Write or copy the code below
from django.http import HttpResponse


def todo_list(request):
	return HttpResponse("Hello World")
Save the file
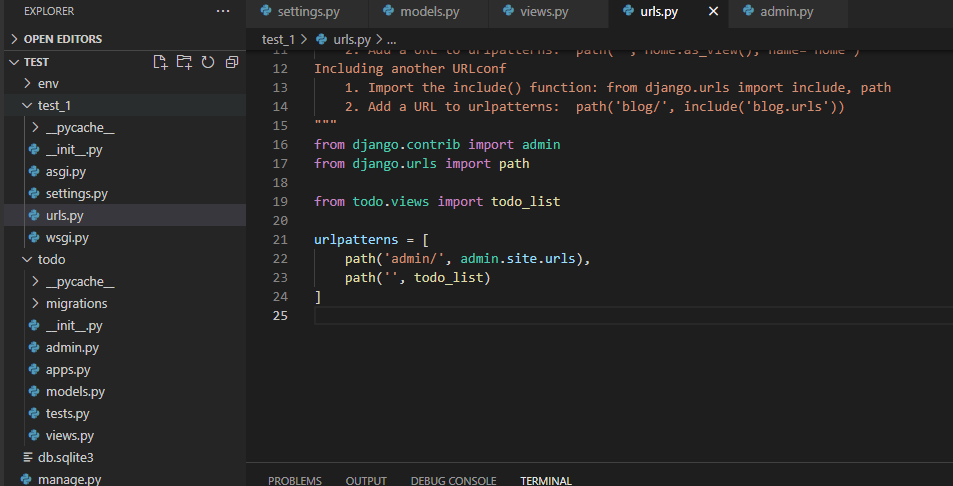
Go to urls.py under your project folder. In my case, test_1 or djangoTodo.
Write or copy the code below. (bold and italic ones)


-Part15")