Following Django Tutorial (CRM)-Part8

This post is for myself to remember how to build Django project.
I did follow the tutorial from the JustDjango Learn website free tutorial.
And this is the fourth tutorial named Getting Started With Django.
I am not going over all the details and descriptions for each part. There are good explanations on video of the JustDjango Learn. So, visit their site and try their tutorials if you need more details. Also, the orders of this post and their video might be different because I put things first what I think should come first.

I am doing this on Windows 10 with just Windows PowerShell. Not using virtual machines at all.

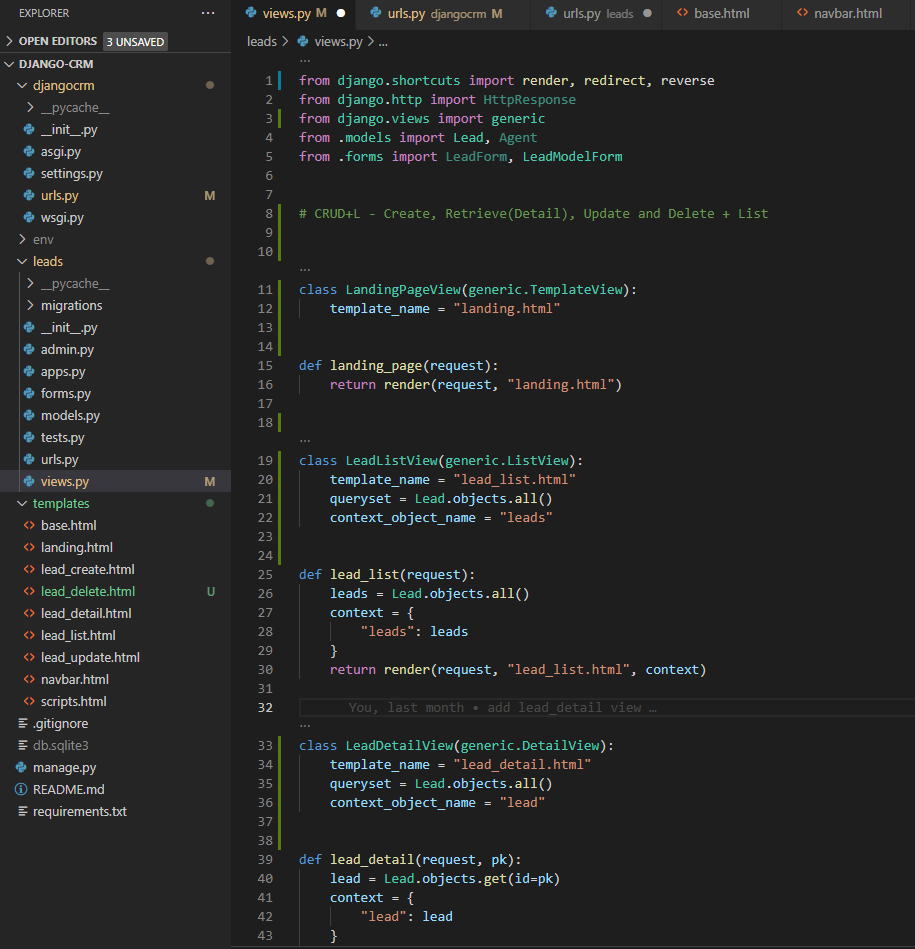
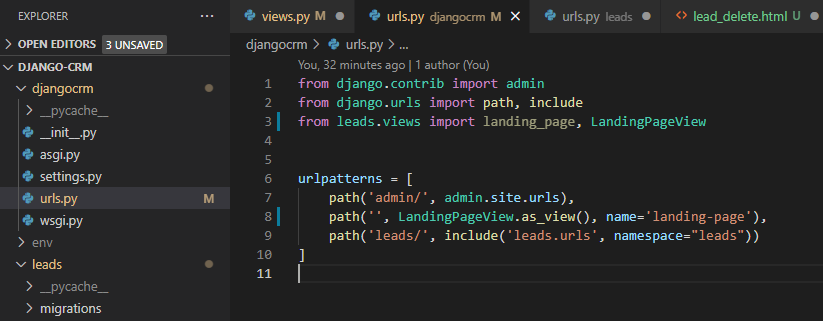
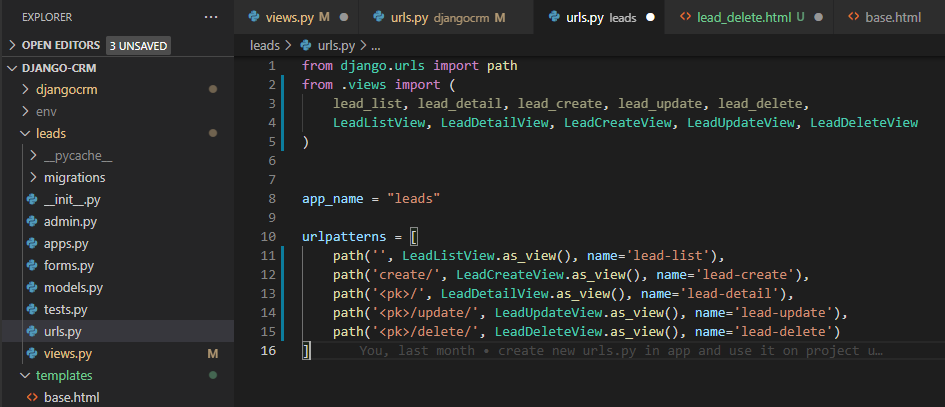
1. Class based views

  • there are two ways to code with python. Function based and Class based views
  • according to the video, Class based views help us to write less code as possible.

2. change functions to class

  • go to views.py
  • import reverse from shortcuts
  • import generic from views
  • add classes of each views like below
  • in the video they did not delete the functions, so I kept them too in my code.
  • again, I am not going over all the details, for the description of each of them, please go to their site and watch the video.
class LandingPageView(generic.TemplateView):
	template_name = "landing.html"

class LeadListView(generic.ListView):
	template_name = "lead_list.html"
	queryset = Lead.objects.all()
	context_object_name = "leads"

class LeadDetailView(generic.DetailView):
	template_name = "lead_detail.html"
	queryset = Lead.objects.all()
	context_object_name = "lead"

class LeadCreateView(generic.CreateView):
	template_name = "lead_create.html"
	form_class = LeadModelForm

	def  get_success_url(self):
		return reverse("leads:lead-list")

class LeadUpdateView(generic.UpdateView):
	template_name = "lead_update.html"
	queryset = Lead.objects.all()
	form_class = LeadModelForm

	def  get_success_url(self):
		return reverse("leads:lead-list")

class LeadDeleteView(generic.DeleteView):
	template_name = "lead_delete.html"
	queryset = Lead.objects.all()

	def  get_success_url(self):
		return reverse("leads:lead-list")
  • create lead_delete.html file under template folder for delete view
  • write/copy the code below, it is basically same as lead_create
{% extends "base.html" %}

{% block content %}
	<a href="{% url 'leads:lead-list' %}">Go back to leads</a>
	<hr />
	<h1>Are you sure you want to delete this lead?</h1>
	<form method="post">
		{% csrf_token %}
		{{ form.as_p }}
		<button type="submit">Submit</button>
	</form>
{% endblock content %}
  • go to urls.py under root project folder in my case djangocrm
  • import LandingPageView and edit path like below screenshot
  • go to urls.py under leads folder
  • import all created views and edit all the paths like below screenshot

3. Staticfiles

  • there are some static files that almost never changes.
  • put them into one folder and call to use.
  • go to settings.py under root project folder
  • add statifiles dir and root like below.
  • again, I am not going over all the details, for the description of each of them, please go to their site and watch the video.
  • go to urls.py under root project folder
  • import and add some like below screenshot
  • create static folder under root project
  • create some folders and files under the static folder to test

4. apply static files

  • go to base.html file
  • add some codes like below
  • go to scripts.html file
  • write code like below
  • save the files and go to browser.
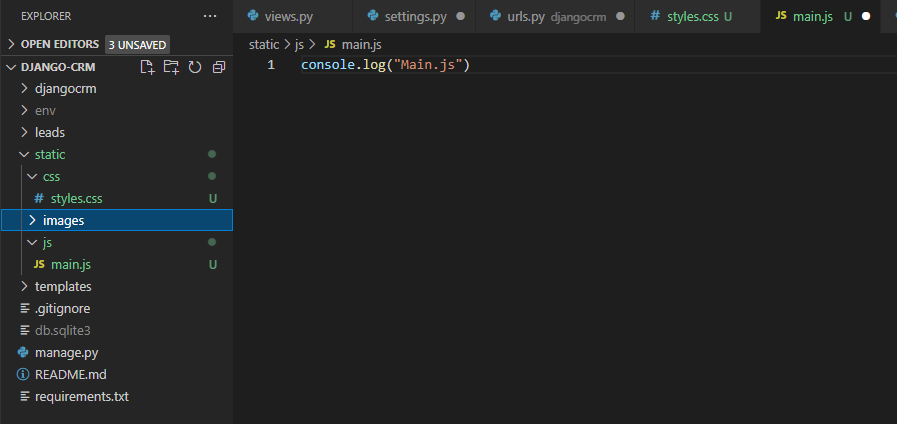
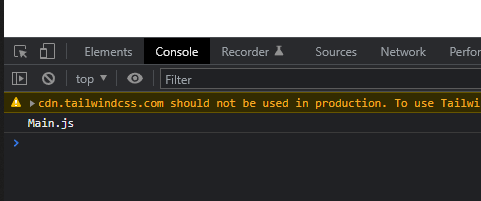
  • refresh to the home and see if you see the “Main.js” on your console.
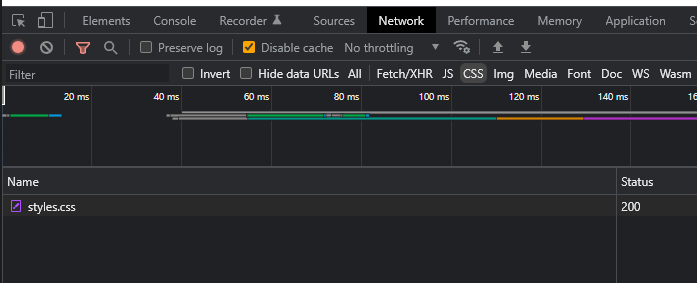
  • also check the network tab and see if the “styles.css” is there for css

5. sending emails

  • go to views.py
  • import send_mail and add some codes
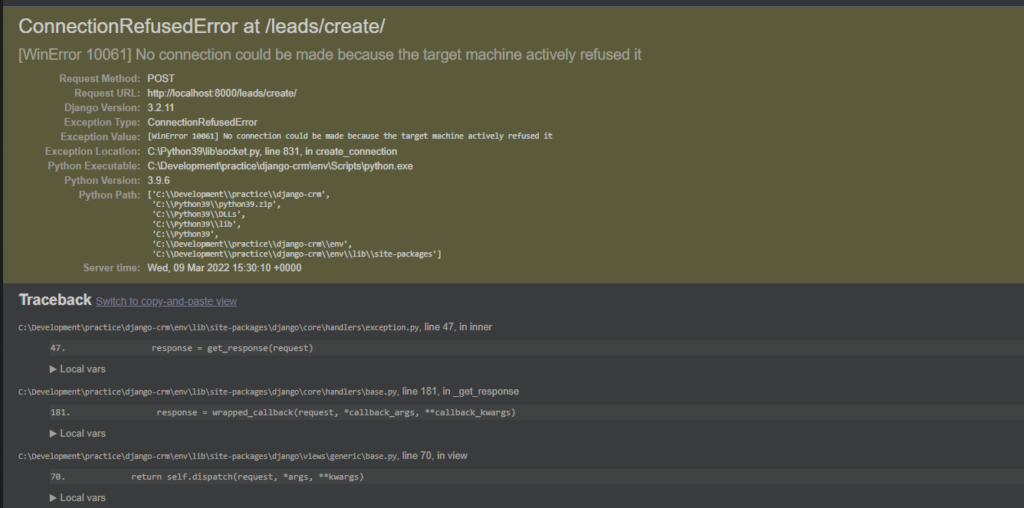
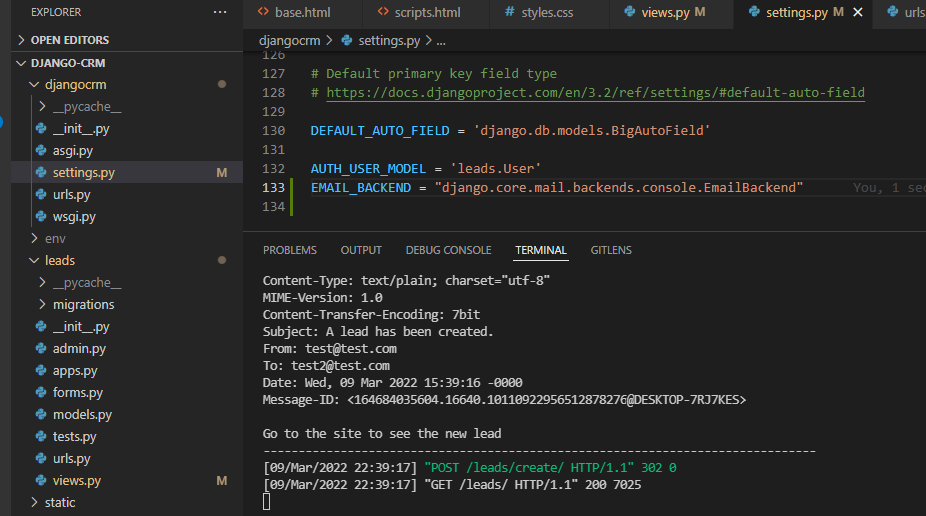
  • If you test now, you will get an error like below, that is because our credentials are not correct and trying to authenticate with actual email provider.
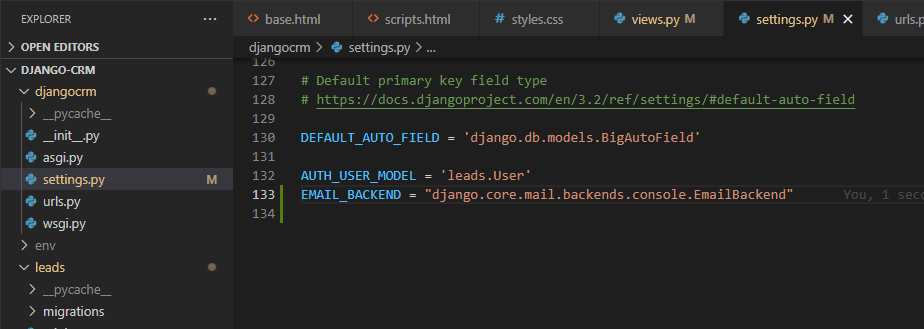
  • to get rid of this error and show the email on console, go to settings.py
  • at the very bottom, add below code
EMAIL_BACKEND = "django.core.mail.backends.console.EmailBackend"
  • save the file
  • if you had tested and got the error page, just refresh the page.
  • if you see the popup message for resubmission, hit continue
  • then, your site will be redirect to lead list page.
  • check your terminal which is running server
  • you will see the actual email messages on the terminal like below
  • use smtp instead console on settings for actual products
  • for more description, please visit their site and watch video there.

done for this post