This guide is for myself to set up simple Dockerized Django/PostgreSQL app using Pycharm Community Edition on Windows.
Mostly following the instruction from docker docs sample, and some other blogs. References are at the end of the article. To see what does code do, please visit the docker docs sample. In this Article, I am just simply writing how to do with screenshots and the terms that normal people who does not have programming knowledge use. e.g. folder instead directory, etc.
Writing this because most of references are explaining with having base programming knowledge or using command line or Linux or VScode or whatever.
Prerequisite
- Python
- Docker for Windows
- Pycharm Community Edition (Docker plugin installed and enabled)
- Define the project components
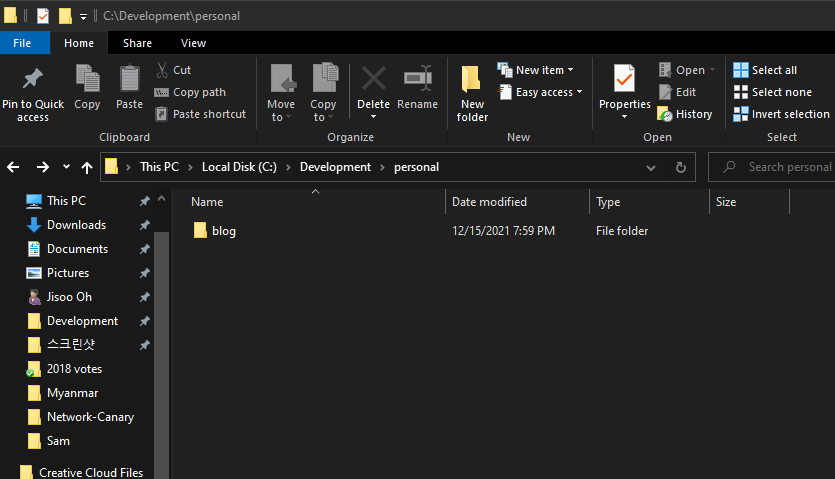
1.1. Create an empty project folder
I just created “blog” folder under “C:\Development\personal” path.

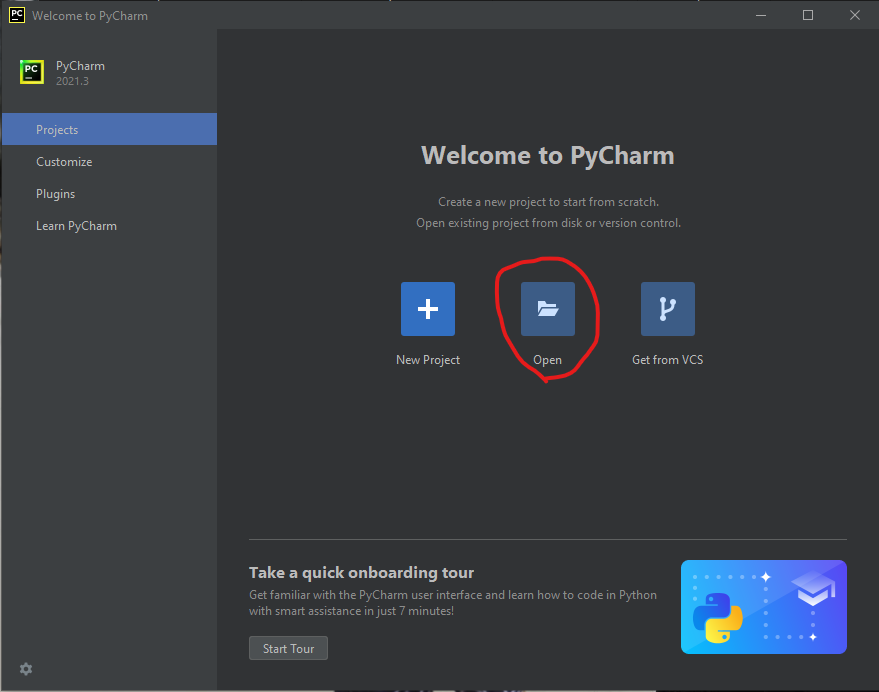
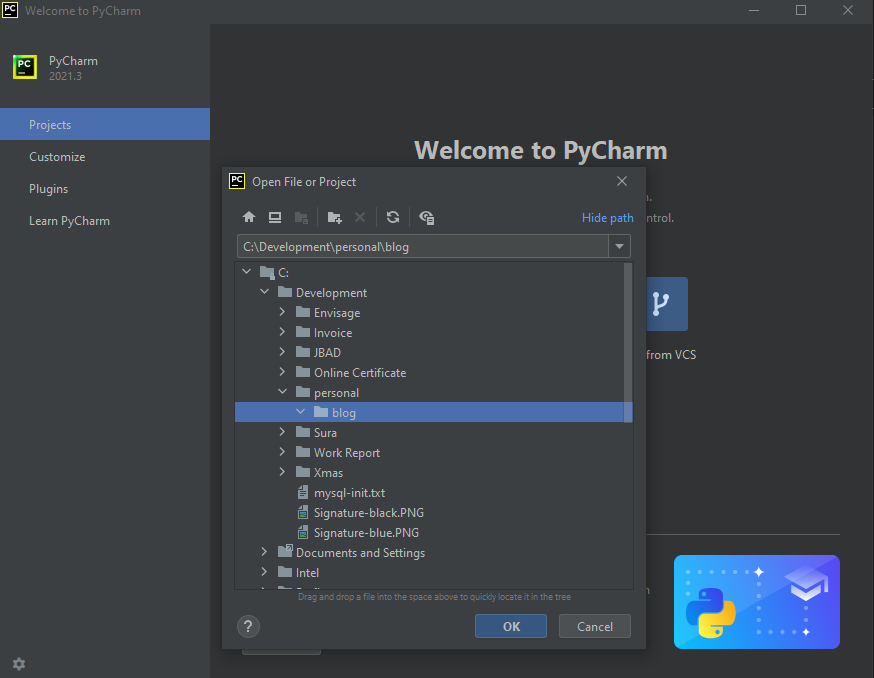
1.2. Open the created folder with Pycharm.


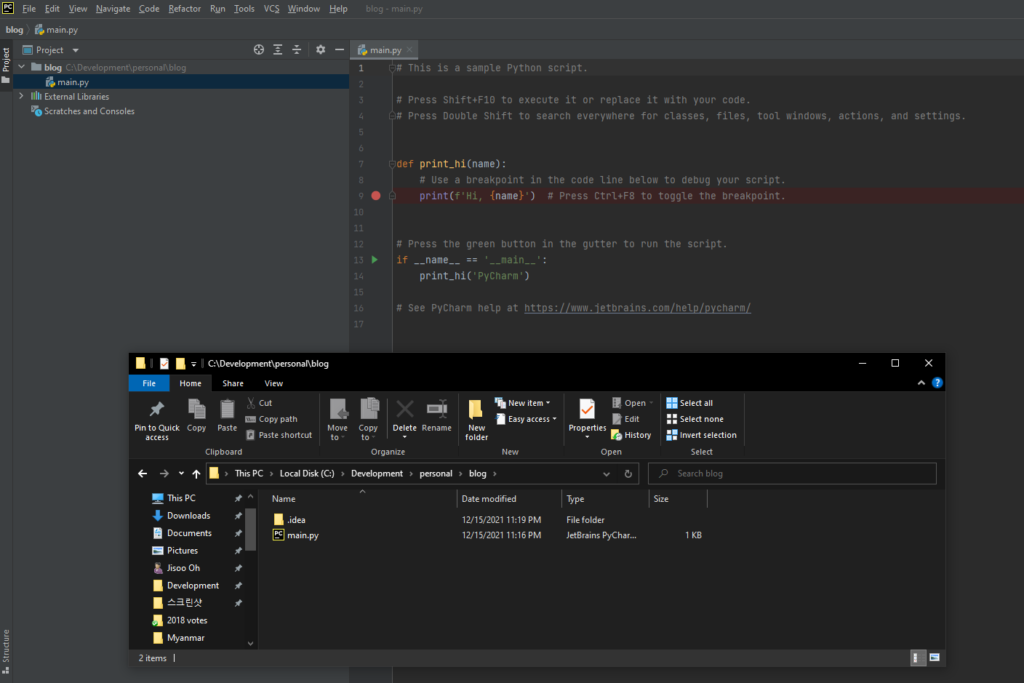
If you open the folder with Pycharm, a folder and a file will be created automatically.
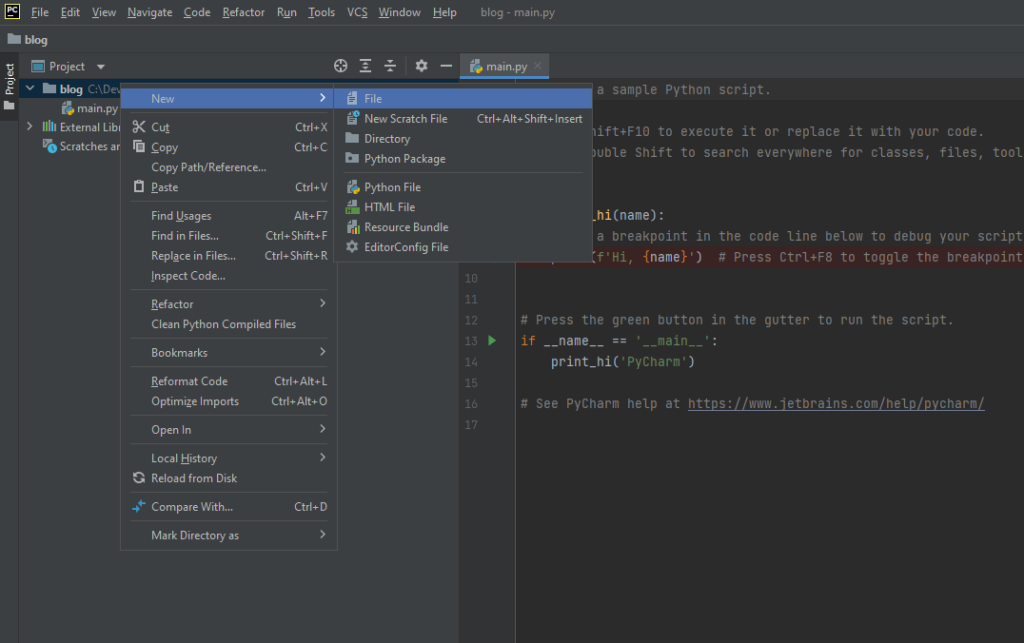
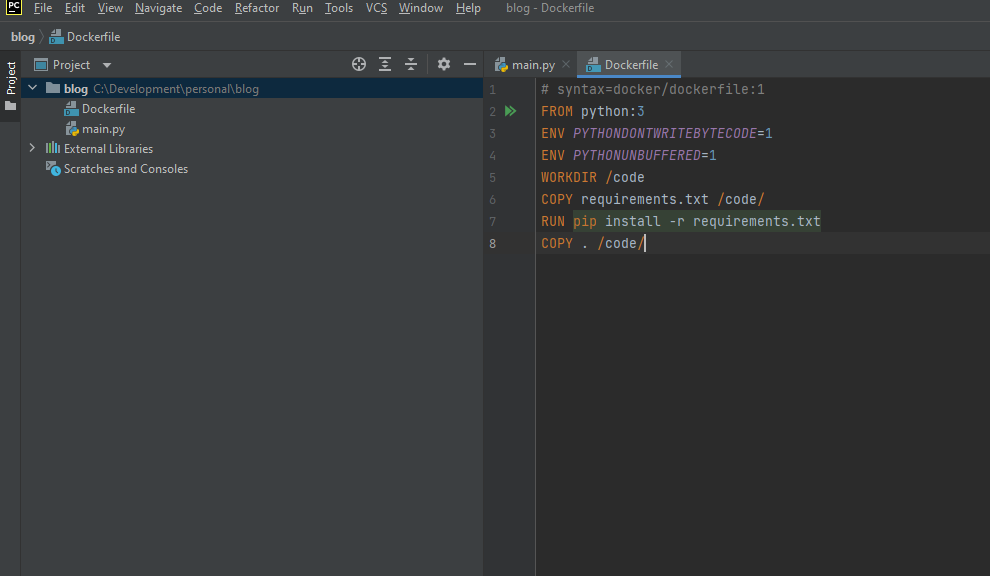
1.3. Create a new file called “Dockerfile” in the project folder. (in my case, “blog”)

# syntax=docker/dockerfile:1
FROM python:3
ENV PYTHONDONTWRITEBYTECODE=1
ENV PYTHONUNBUFFERED=1
WORKDIR /code
COPY requirements.txt /code/
RUN pip install -r requirements.txt
COPY . /code/
Add the above code to the Dockerfile and save.

1.4. Again, create new file and add the required software in the file. In this article,
Django>=3.0,<4.0
psycopg2>=2.8
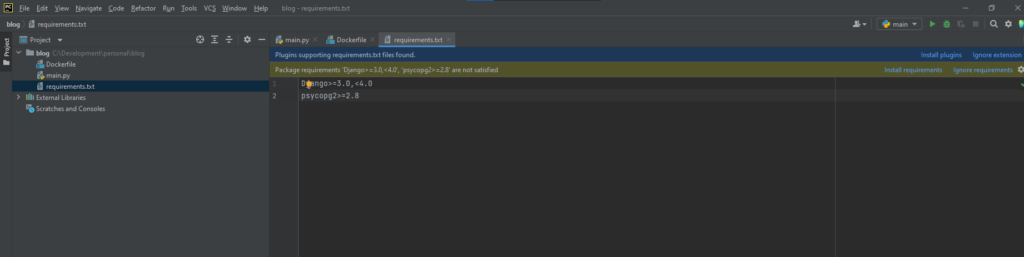

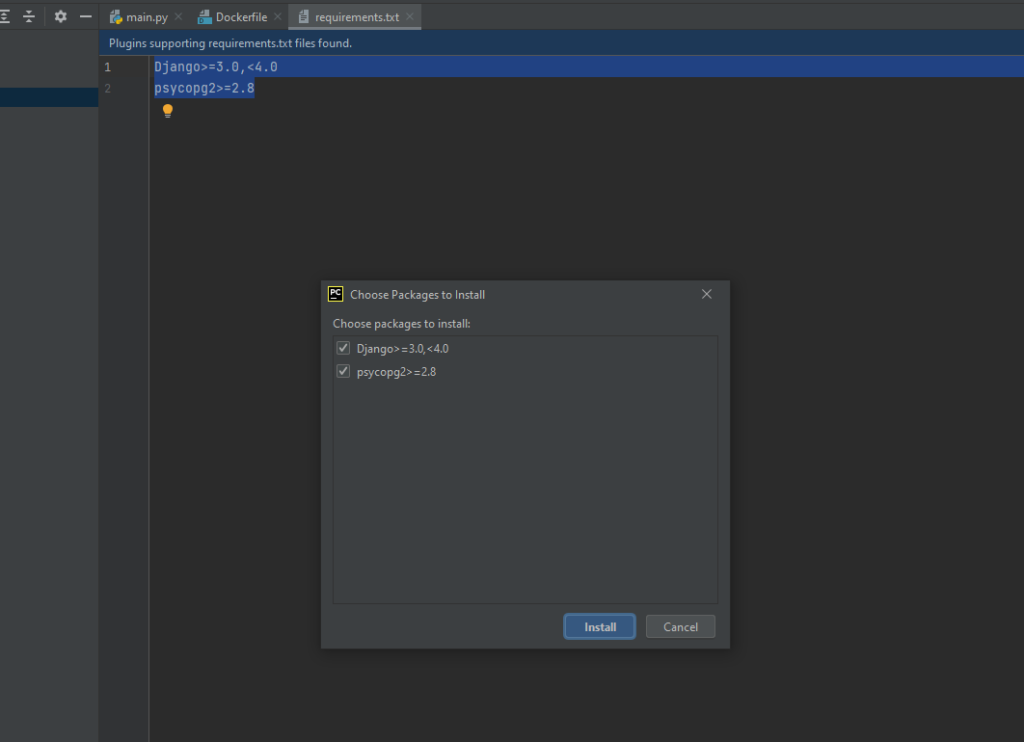
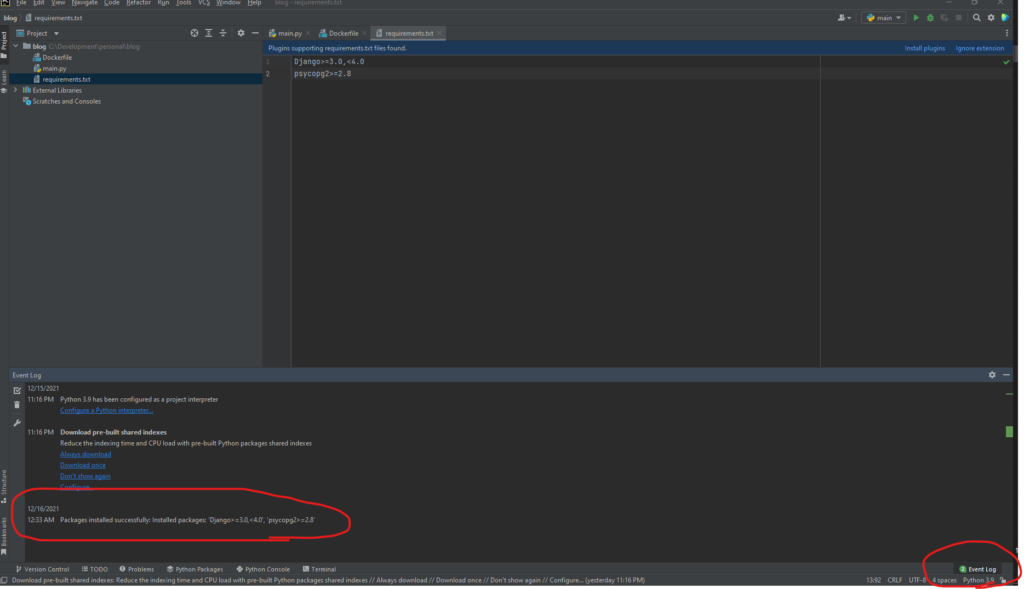
Install plugins bar will appear. If you click the Gold one “Install requirements”, it will let you install the packages you need. It will be better to install plugin with blue bar too I guess? (I don’t know these bars appear everytime set up or not.) When you click the install button, click the Event Log on the Bottom Right corner to see it is installed.

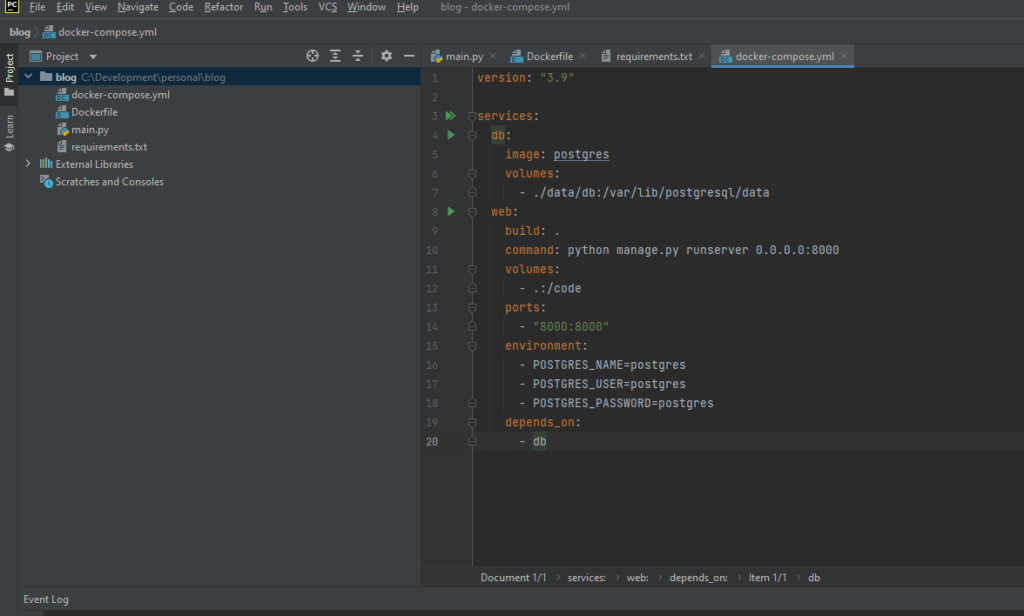
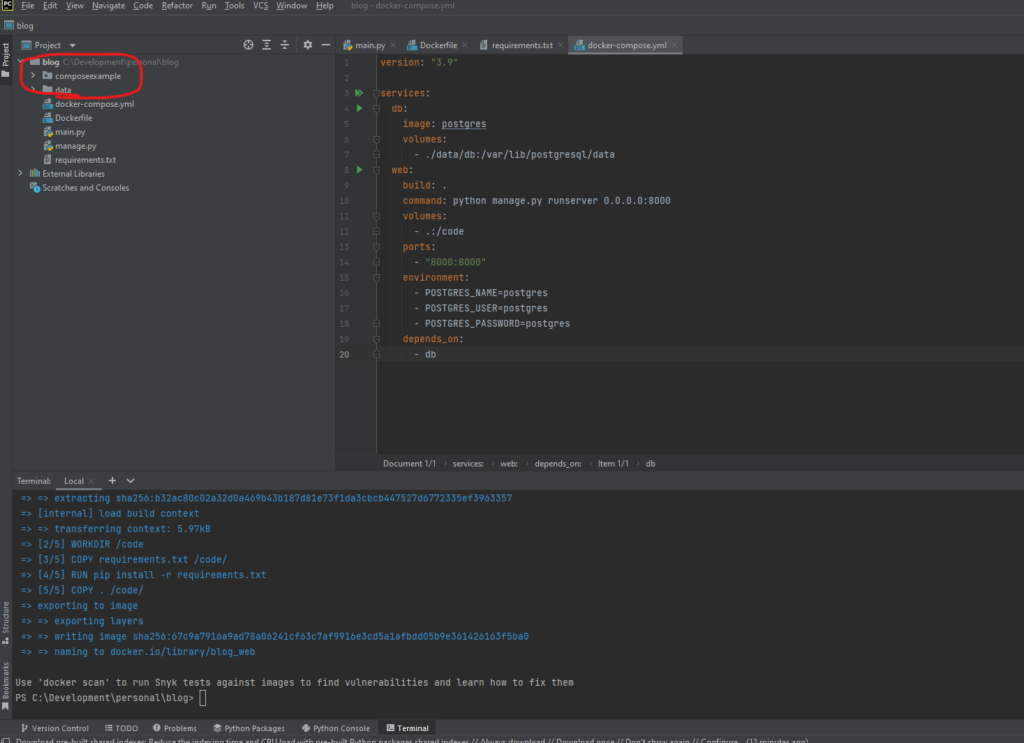
1.5. Create a file called “docker-compose.yml” in the same root folder. (Same as above, in “blog” for this example.) and add the following code.
version: "3.9"

services:
  db:
    image: postgres
    volumes:
      - ./data/db:/var/lib/postgresql/data
  web:
    build: .
    command: python manage.py runserver 0.0.0.0:8000
    volumes:
      - .:/code
    ports:
      - "8000:8000"
    environment:
      - POSTGRES_NAME=postgres
      - POSTGRES_USER=postgres
      - POSTGRES_PASSWORD=postgres
    depends_on:
      - db
2. Create a Django Project
2.1. Open the Terminal(maybe command prompt) in Pycharm. NOT in Python Console. You can find it on left bottom. and run the below command to create Django project.
docker-compose run web django-admin startproject composeexample .
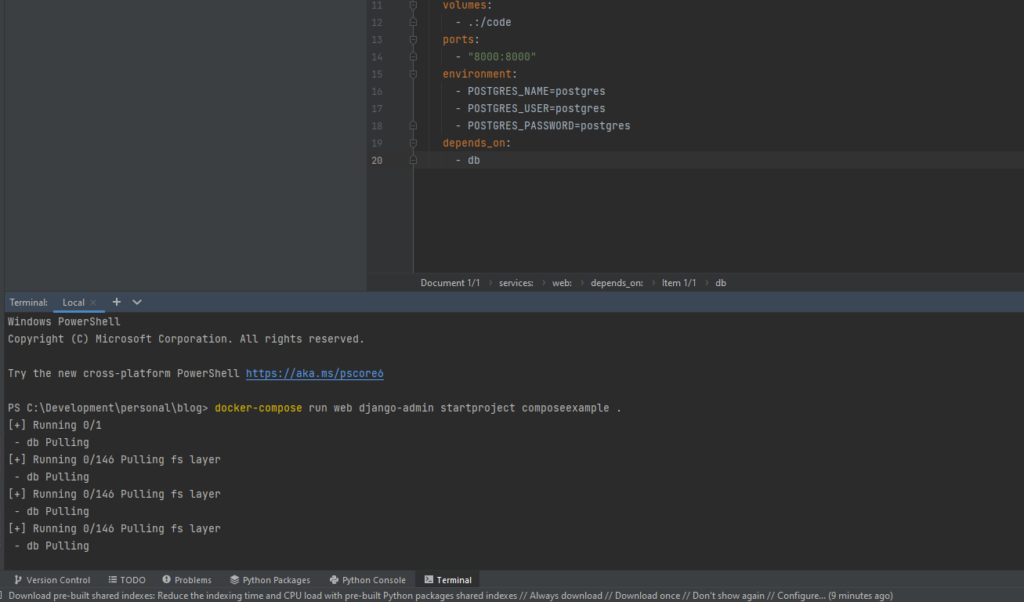
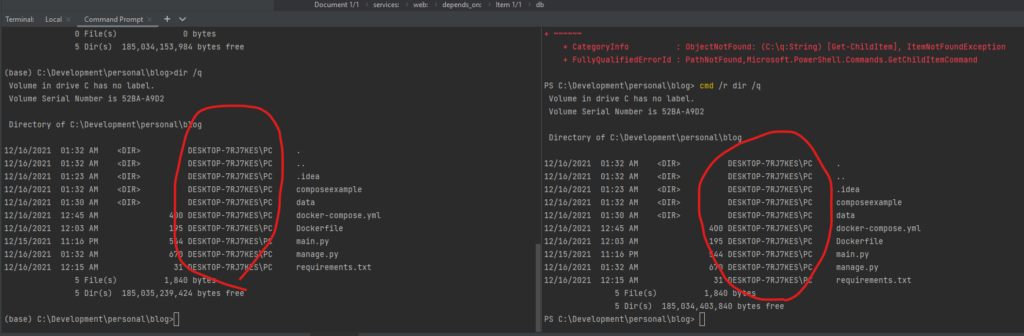
Now you will see the composeexample and data folder on the file manager. (left)

2.2. check the ownership of all files. the instructions says mac or windows would have no problem, but just to verify the root user have ownership. To check this, on command prompt, “dir /q" if you are using powershell use “cmd /r dir /q“
below screenshot, Left is command prompt, right one is in powershell,

3. Connect the Database
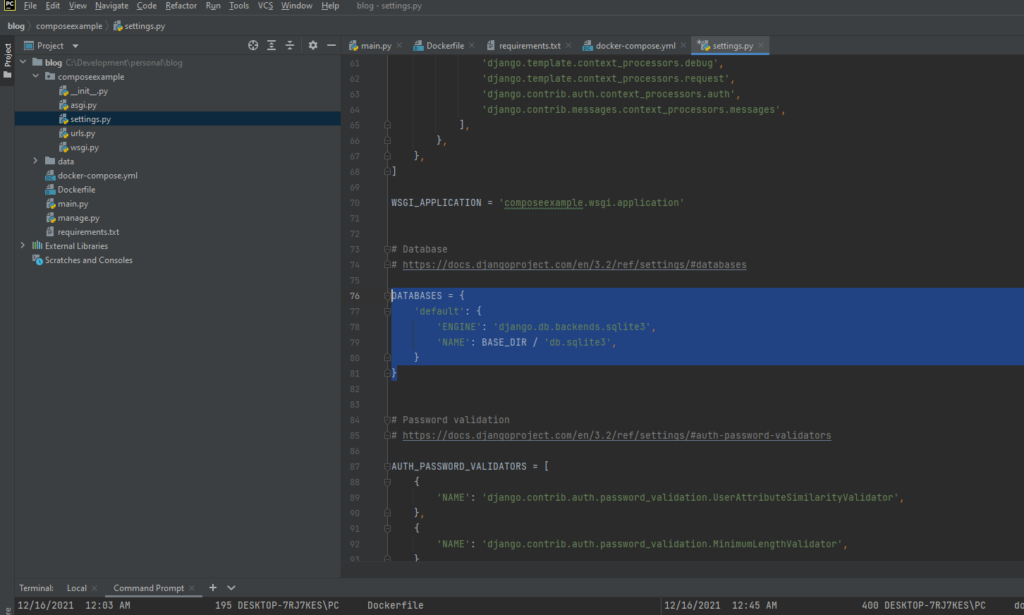
3.1. by double clicking the “settings.py” file under composeexample folder, open the file, scroll down to the “DATABASES” and replace them with the below code. And save.
DATABASES = {
    'default': {
        'ENGINE': 'django.db.backends.postgresql',
        'NAME': 'postgres',
        'USER': 'postgres',
        'PASSWORD': 'postgres',
        'HOST': 'db',
        'PORT': 5432,
    }
}
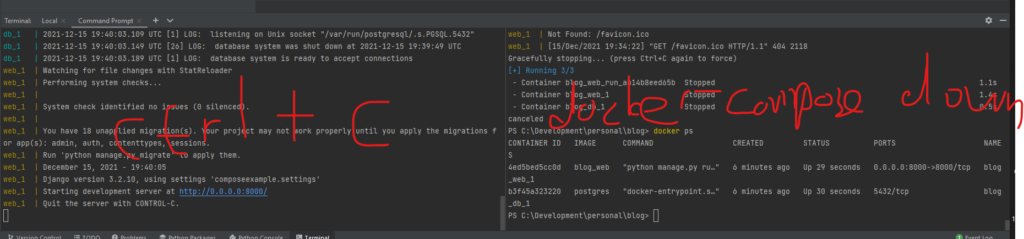
3.2. Run the “docker-compose up” on terminal or command prompt to see it is working properly.


If you see the like the below screenshot, it is succeed.

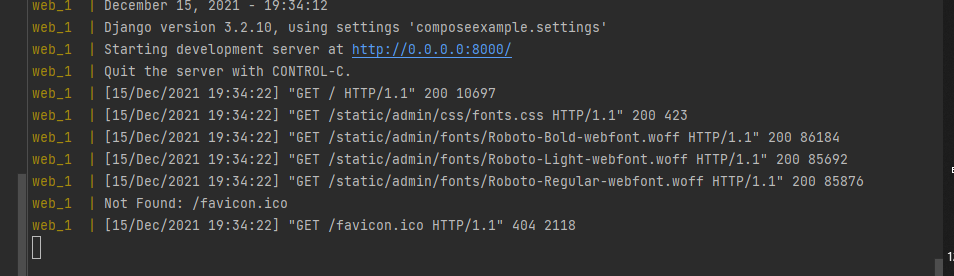
3.3. go to “localhost:8000” on your browser to check see the Django welcome page.


3.4. To check running containers, open another terminal and type “docker ps”

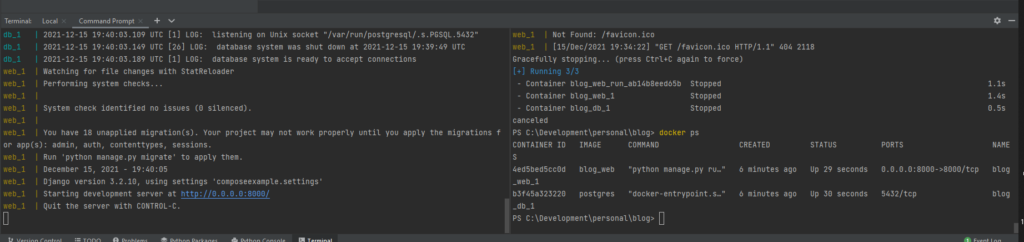
3.5. To shut down services, there are two ways. hit “ctrl+c” on running server, or docker-compose down on new terminal.