This post is for myself to remember how to build Django project. I did follow the tutorial from the JustDjango Learn website free tutorial. And this is the fourth tutorial named Getting Started With Django. I am not going over all the details and descriptions for each part. There are good explanations on video of the JustDjango Learn. So, visit their site and try their tutorials if you need more details. Also, the orders of this post and their video might be different because I put things first what I think should come first.
I am doing this on Windows 10 with just Windows PowerShell. Not using virtual machines at all.
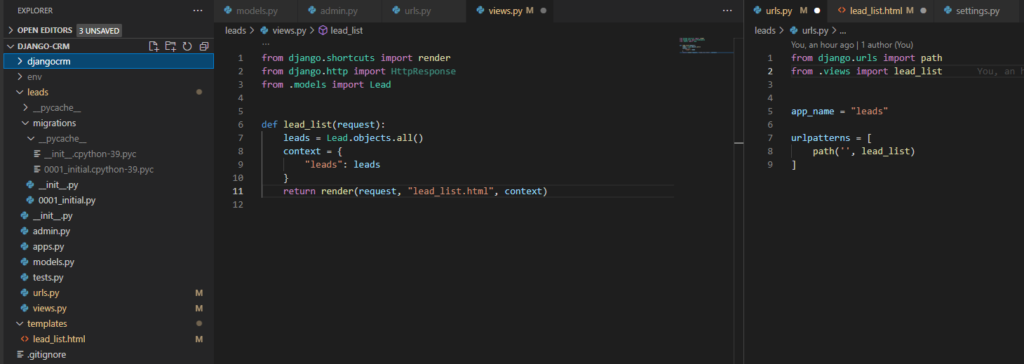
1. Rename/Restructure Urls
rename home_page.html to lead_list.html
go to views.py and rename the function and render page as lead_list
go to urls.py and delete all/ at path.
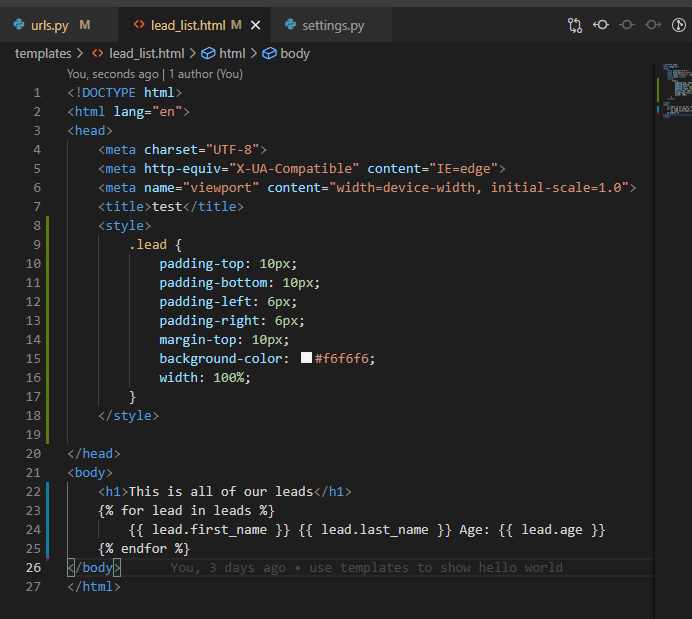
2. add some style and edit the body on html
add style code below in <head> below <title> on lead_list.html file
<h1>This is all of our leads</h1>
{% for lead in leads %}
	<div class="lead">
		{{ lead.first_name }} {{ lead.last_name }} Age: {{ lead.age }}
	</div>
{% endfor %}
save the files
go to browser, and go to “localhost:8000/leads”
you will see some changes.
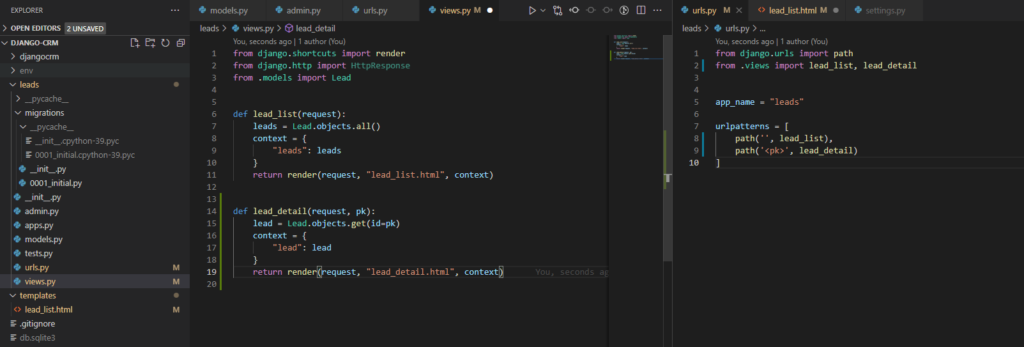
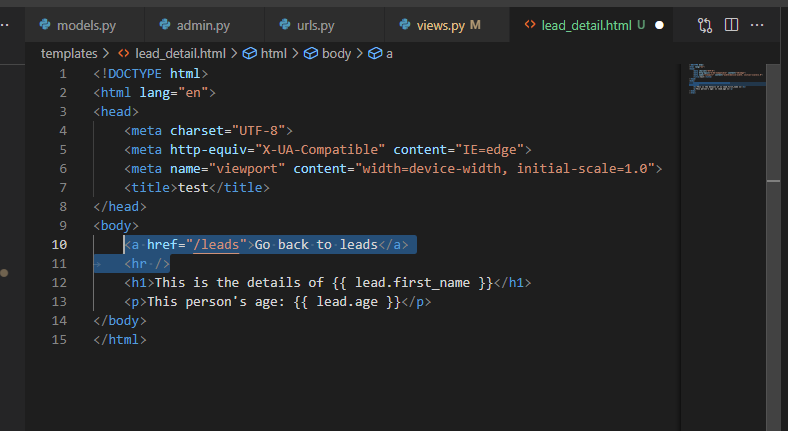
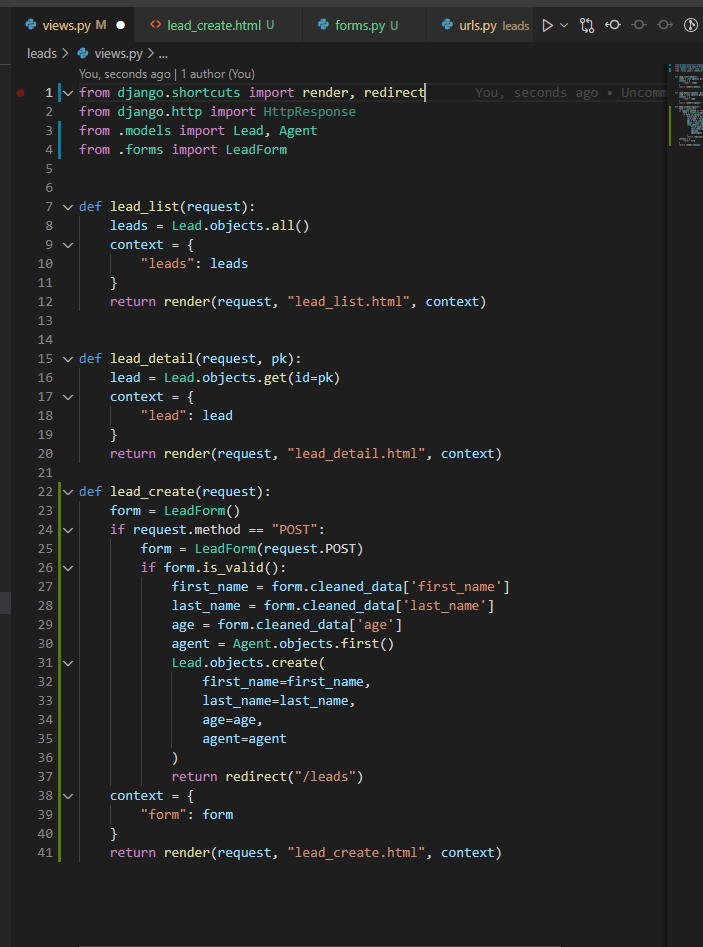
3. Add lead detail view
go to views.py
add detail function code below.
def lead_detail(request, pk):
	lead = Lead.objects.get(id=pk)
	context = {
		"lead": lead
	}
	return render(request, "lead_detail.html", context)
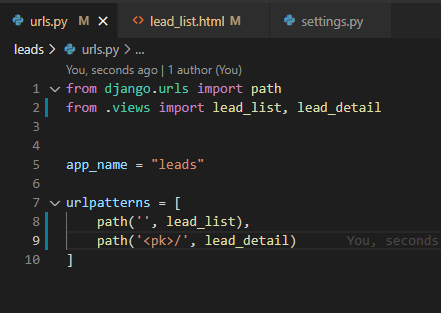
go to urls.py
add import and path of lead_detail
create lead_detail.html file under template folder
the reason why create needs to come first is the way python(maybe all other languages too) work is reading the code from the above. and <pk> is expecting the integer, but create is the string. so, force to set the pk as int, or let pk comes the last.
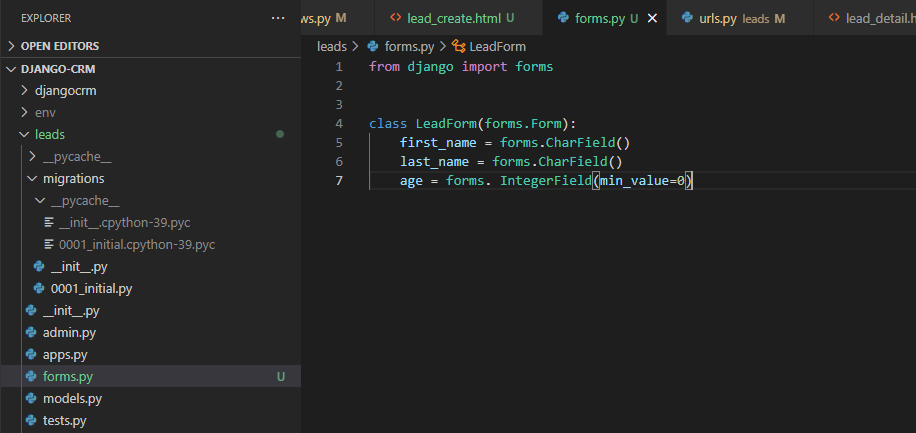
create new file forms.py and copy below code
from django import forms


class LeadForm(forms.Form):
	first_name = forms.CharField()
	last_name = forms.CharField()
	age = forms. IntegerField(min_value=0)
import forms, agent, and redirect in views.py
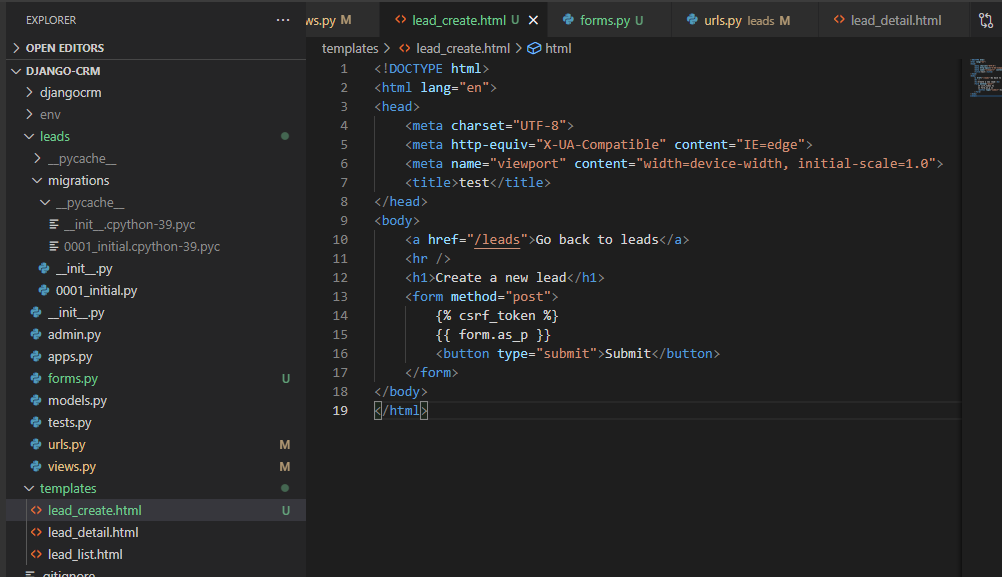
add forms under lead_create like below code. for the detail explanation, please visit their site.
form = LeadForm()
if request.method == "POST":
	form = LeadForm(request.POST)
	if form.is_valid():
		first_name = form.cleaned_data['first_name']
		last_name = form.cleaned_data['last_name']
		age = form.cleaned_data['age']
		agent = Agent.objects.first()
		Lead.objects.create(
			first_name=first_name,
			last_name=last_name,
			age=age,
			agent=agent
		)
		return redirect("/leads")
context = {
	"form": form
}


-Part6")