This post is for myself to remember how to build Django project.
I did follow the tutorial from the JustDjango Learn website free tutorial.
And this is the fourth tutorial named Getting Started With Django.
I am not going over all the details and descriptions for each part. There are good explanations on video of the JustDjango Learn. So, visit their site and try their tutorials if you need more details. Also, the orders of this post and their video might be different because I put things first what I think should come first.
I am doing this on Windows 10 with just Windows PowerShell. Not using virtual machines at all.
This post
1. Run Server
- make sure your virtual environment is activated.
- run server by typing below code.
python manage.py runserver
2. Migrations
- stop the server hit ctrl+c
- apply changes to database (migrations)
python manage.py migrate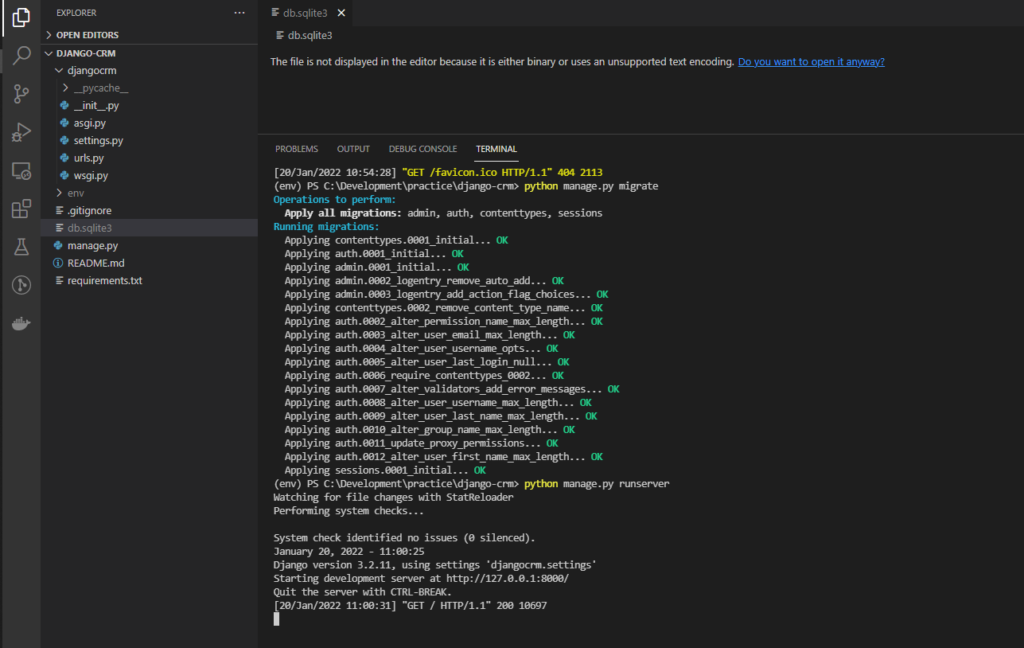
3. Startapp
- stop the server
- create an app
python manage.py startapp leads- add app on settings file

- (optional) commit and push to Github.
- you can commit at once all things are done, but it is better to specify what’s done in a commit for others and yourself to trace back.
- you don’t have to push every time. you can add and commit multiple times and push them all together.

4. Models
- open up the models.py file under leads folder.
- create model and save the file.
class Lead(models.Model):
	first_name = models.CharField(max_length=20)
	last_name = models.CharField(max_length=20)
age = models.IntegerField(default=0)- run the makemigrations
python manage.py makemigrations- you will see a file created under migrations folder under leads folder
- run migrate
python manage.py migrate- for me, it is like add and commit on git.
- you can see the details of migrations on django docs.
- https://docs.djangoproject.com/en/4.0/topics/migrations/

5. Database
- there are a lot of ways to check the database, but VSCode has good extensions for that.
- in this tutorial, using sqlite.
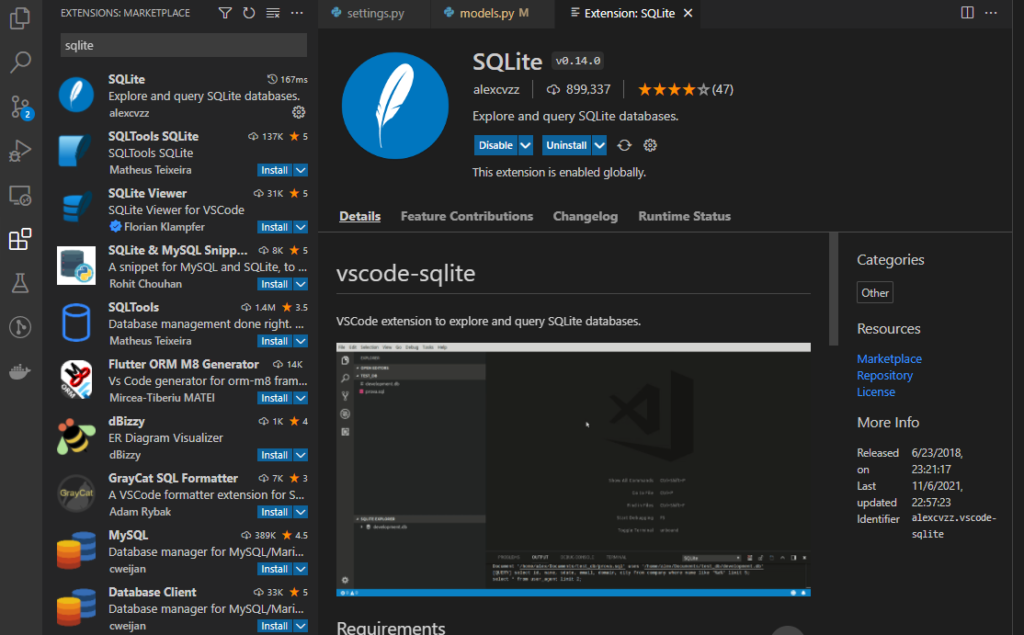
- after install, hit ctrl+shift+p to search sqlite extension and open database
- you will see sqlite explorer on the bottom of explorer.
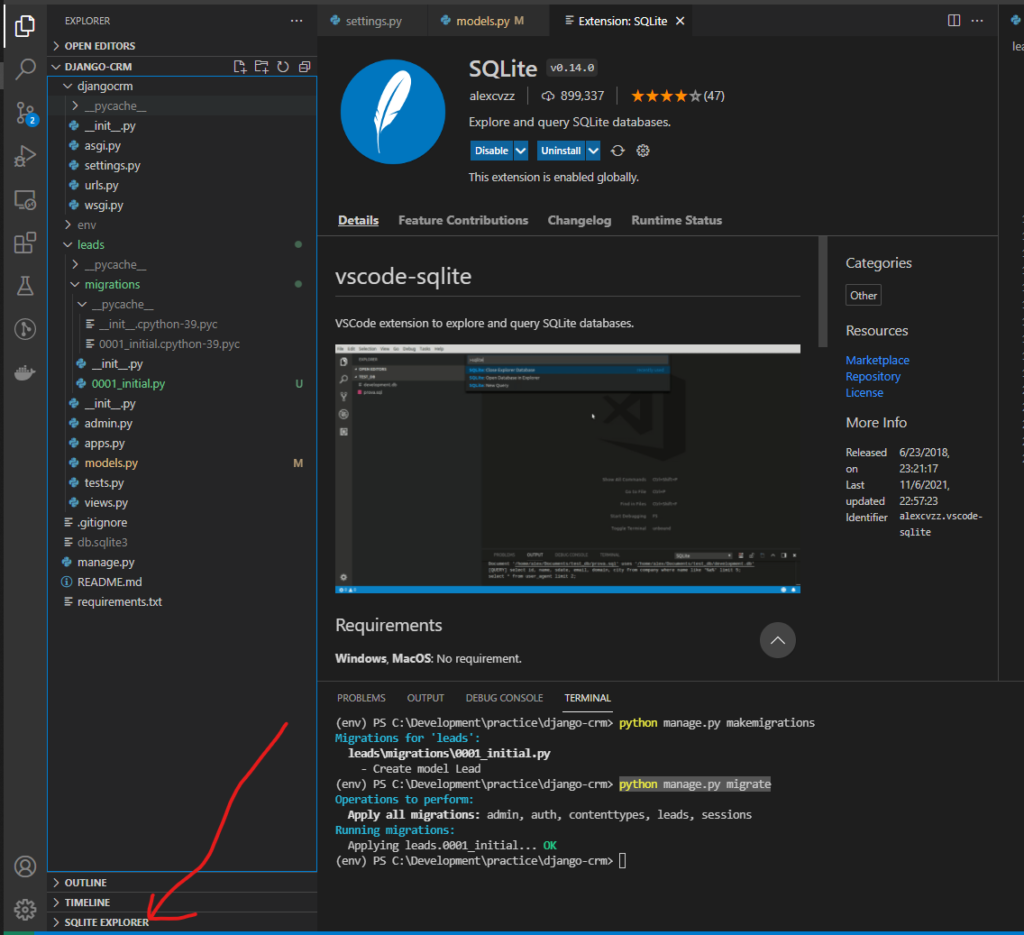
- you can check the database you just created.
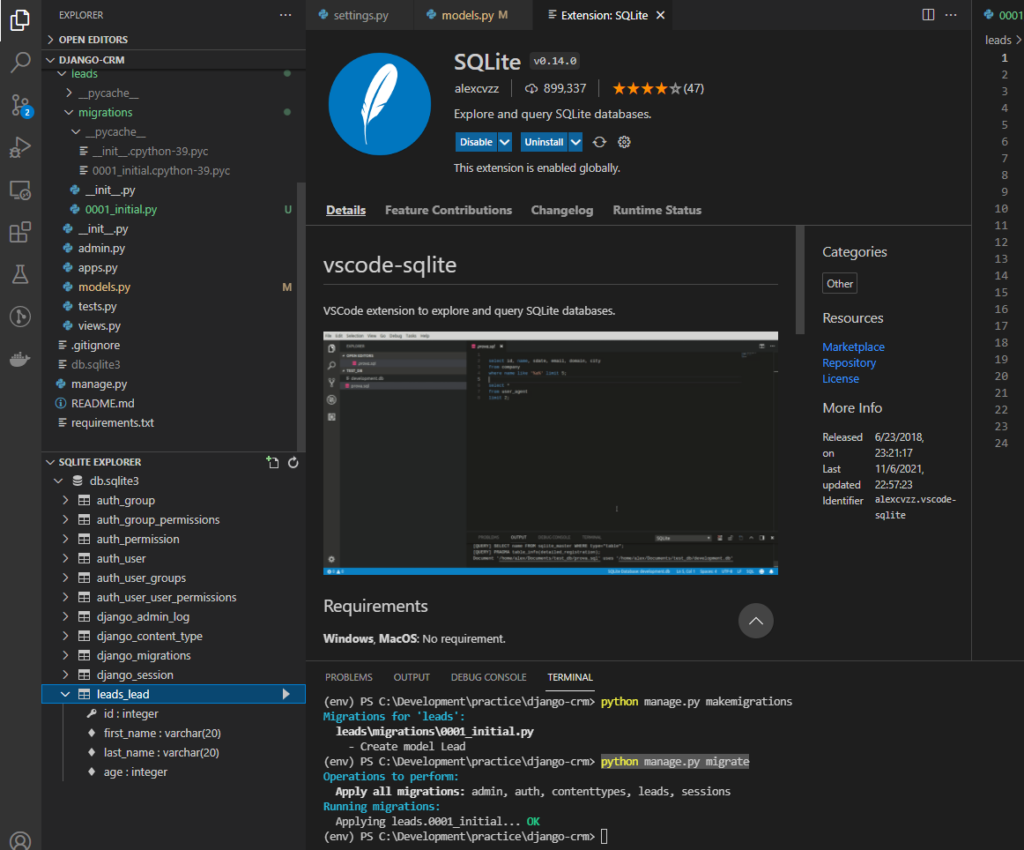
6. Custom User
- to create custom user, import AbstractUser from django models.
from django.contrib.auth.models import AbstractUser- make user class
class User(AbstractUser):
pass- inside of parentheses is the parent of user. (or in other words, user inherit from AbstractUser)
- pass is as the word meaning, nothing to add more than the AbstractUser has.
- So, in this case, we are using exact same format what AbstractUser has.
- You can check what AbstractUser has from “env>Lib/site-packages>django>contrib>auth>models.py” and from line 321 in my case.

- go to settings.py
- add user model.
AUTH_USER_MODEL = 'leads.User'
7. Foreignkey
- it is basically link the tables.
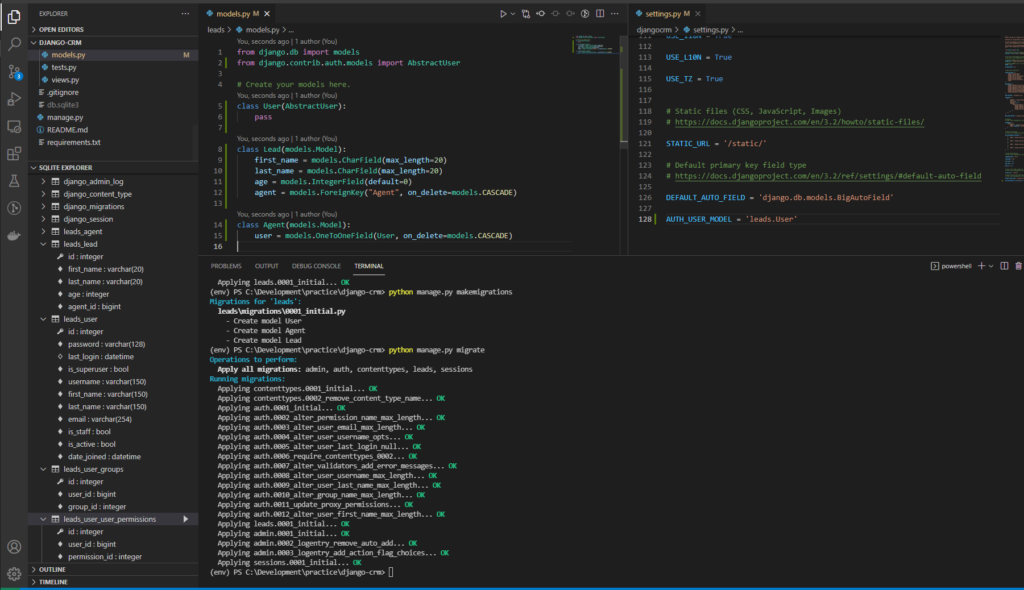
- add another class Agent
class Agent(models.Model):
	user = models.OneToOneField(User, on_delete=models.CASCADE)
- add another field name agent in Lead class
agent = models.ForeignKey("Agent", on_delete=models.CASCADE)- here ForeignKey and OneToOneField are linking between the classes.
- for more decriptions, please visit their site.

- here two different orders of classes.
- one has Agent comes first, the other comes later.
- This is if Agent comes first, we can use just Agent, but if comes later, should use “Agent” to let python look for the Agent in this file.
- delete db.sqlite3 and the first migration files.
- honestly, I don’t know why, I think we can override the previous migration and db.
- but I am just following the tutorial.
- then, make migrations and migrate
Done for this post.


